Monday, September 16, 2024

Dip Dyed Rope Bowls

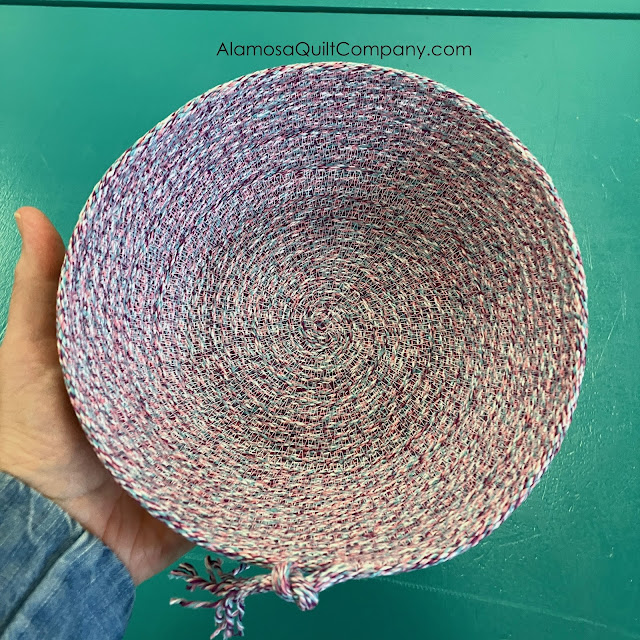
 I did a little experiment last week. I bought some liquid Rit dye from the grocery store along with a bottle of the Rit dye Color Fix. I followed the directions on the bottles and dip dyed a sewn bowl and some loose rope.

Here is the bowl before dyeing.

bowl before dyeing

I used an old bucket to set the bowl and loose rope in with the dye. Then I set them in the sun in my backyard to dry.

dyed bowl and rope drying in the sun

dyed bowl and rope drying in the sun

Here is what the bowl looks like after it dried. 

finished dip dyed bowl

Then I made another bowl with the dip dyed loose rope.

bowl made with loose dip dyed rope top view

bowl made with loose dip dyed rope side view

bowl made with loose dip dyed rope cork finish

On this bowl I tried out a different finish than I've used before. I just finished the bowl then cut a 1.5" by 3" piece of cork and folded it over the end of the rope. I made sure it was evenly folded over the edge and topstitched it down.

I'm not a big fan of dyeing fabric myself. I love the finished product but don't really enjoy the dyeing process personally. Dyeing rope is about the same, but much easier than the methods I have tried for dyeing fabric. It took about 2 hours of dyeing time, most of which was spent waiting. I would guess there was an actual 30 minutes of true work during the 2 hours. Then it took a few more hours of drying time, again, no actual work, just waiting patiently to handle my dyed stuff.

But wow, I love how both of them turned out!

If you would like to try this out and you can't get the supplies locally, I do have all of the rope, rope kits, and a rope sewing book listed for sale on my website.

Rope Sewing Supplies from Alamosa Quilt Company


Monday, September 9, 2024

More Rope Sewing

 I'm having so much fun sewing with the new rope I received in my shop!

The first thing I made with the new rope from The Mountain Thread Company was this Basket with Handles. I used the kit shown in the photos that the basket is sitting on to make it. I wanted to test out their kits. They are excellent! Each kit includes the amount of rope you need to make the project, a denim needle for your sewing machine and the instructions for the project.

Basket with Handles

Basket with Handles


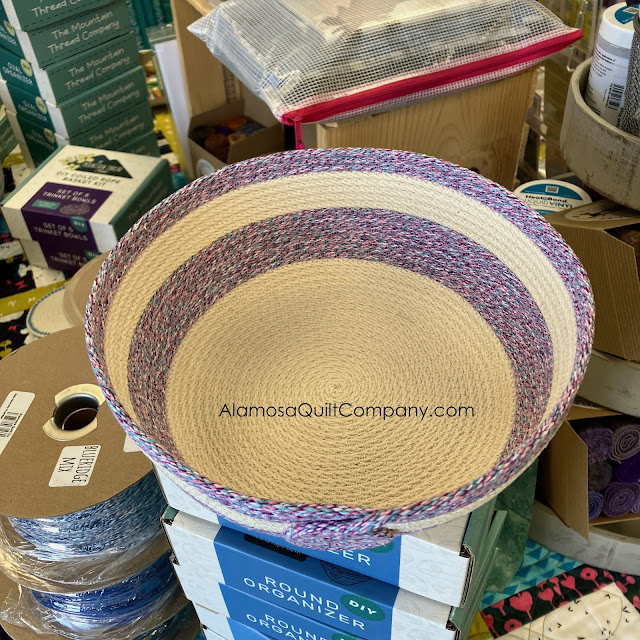
Next I wanted to try out some of the colored rope from The Mountain Thread Company. This is their Spring Poppies Mix and I just made a small bowl. I didn't use a pattern. My base is about 5" and the sides are about 3" tall. Note that the color of the rope is truer in the second photo. In the second photo you can also see how the rope is made. There is no core - it's braided. It's also made in the USA, in North Carolina!

Small basket with colored rope

Small basket with colored rope


Then I wanted to see how easy it would be to use two different colors of rope in the same project and I wanted to try out the coil finish.

Bowl with two colors of rope

Bowl with two colors of rope

Next I decided to get samples made up of all the kits. Below is the Oval Organizer. To finish it off I did another coil but on the inside of the bowl instead of the outside and I attached the coil to the bowl with a button.

Oval Organizer


Then I made the set of Nesting Bowls. Note that the kit does not include the wooden bead. I had some wooden beads and wanted to try out finishing a bowl with them. So I added on to the largest size bowl.

Nesting Bowls set

Nesting Bowls set


Strictly speaking, I haven't made every set. I haven't made the Set of 5 Trinket Bowls or the Set of 3 Bowls or the Coaster Set with Basket. However, the smallest bowl in the Nesting Set is the same size as the Trinket Bowls. And the medium bowl in the Nesting Set is the same size as the bowls in the Set of 3 Bowls. I've made lots of coasters and the size bowl in the coaster set is in between the medium and large bowls from the Nesting Set.

Then I had some rope leftover from years ago when I was making rope bowls. I had it hand dyed by a friend. I made a few coasters off the roll then just decided to sew it all up into a big bowl. Mission accomplished! It is a very big bowl.

Big orange bowl

Big orange bowl

First, I really don't like this rope after sewing with the new stuff from The Mountain Thread Company. This rope is lumpy, floppy and uneven thickness. It also has a polyester core so you are limited by how you can end it. The bowl bottom is about 11.5", it's 9" tall and the diameter at the top is 18".

You can use lots of different kinds of rope to make these bowls, but the nicer the rope you start out with the nicer the finished product. If you are buying and can feel the rope, pinch it to see how squishy it is. The Mountain Thread Company rope is not squishy at all and sews up beautifully. Squishy rope makes a squishy bowl that won't hold it's shape very well.

I made a short video for how to make a coaster with rope. The video is 11 1/2 minutes long and you see me make the coaster in real time. It actually takes me about 5 minutes to make a coaster, but everything takes longer when you are explaining to folks.


I have embedded the video above but if it doesn't play for you then click this link to view it directly on YouTube: How to make rope coaster

If you are interested in getting some rope and trying this yourself, I do sell the kits and spools of rope in my physical shop and my online shop.


If something is out of stock, I've already ordered more but I'm having trouble keeping this stuff in stock because it's just so fun to work with!