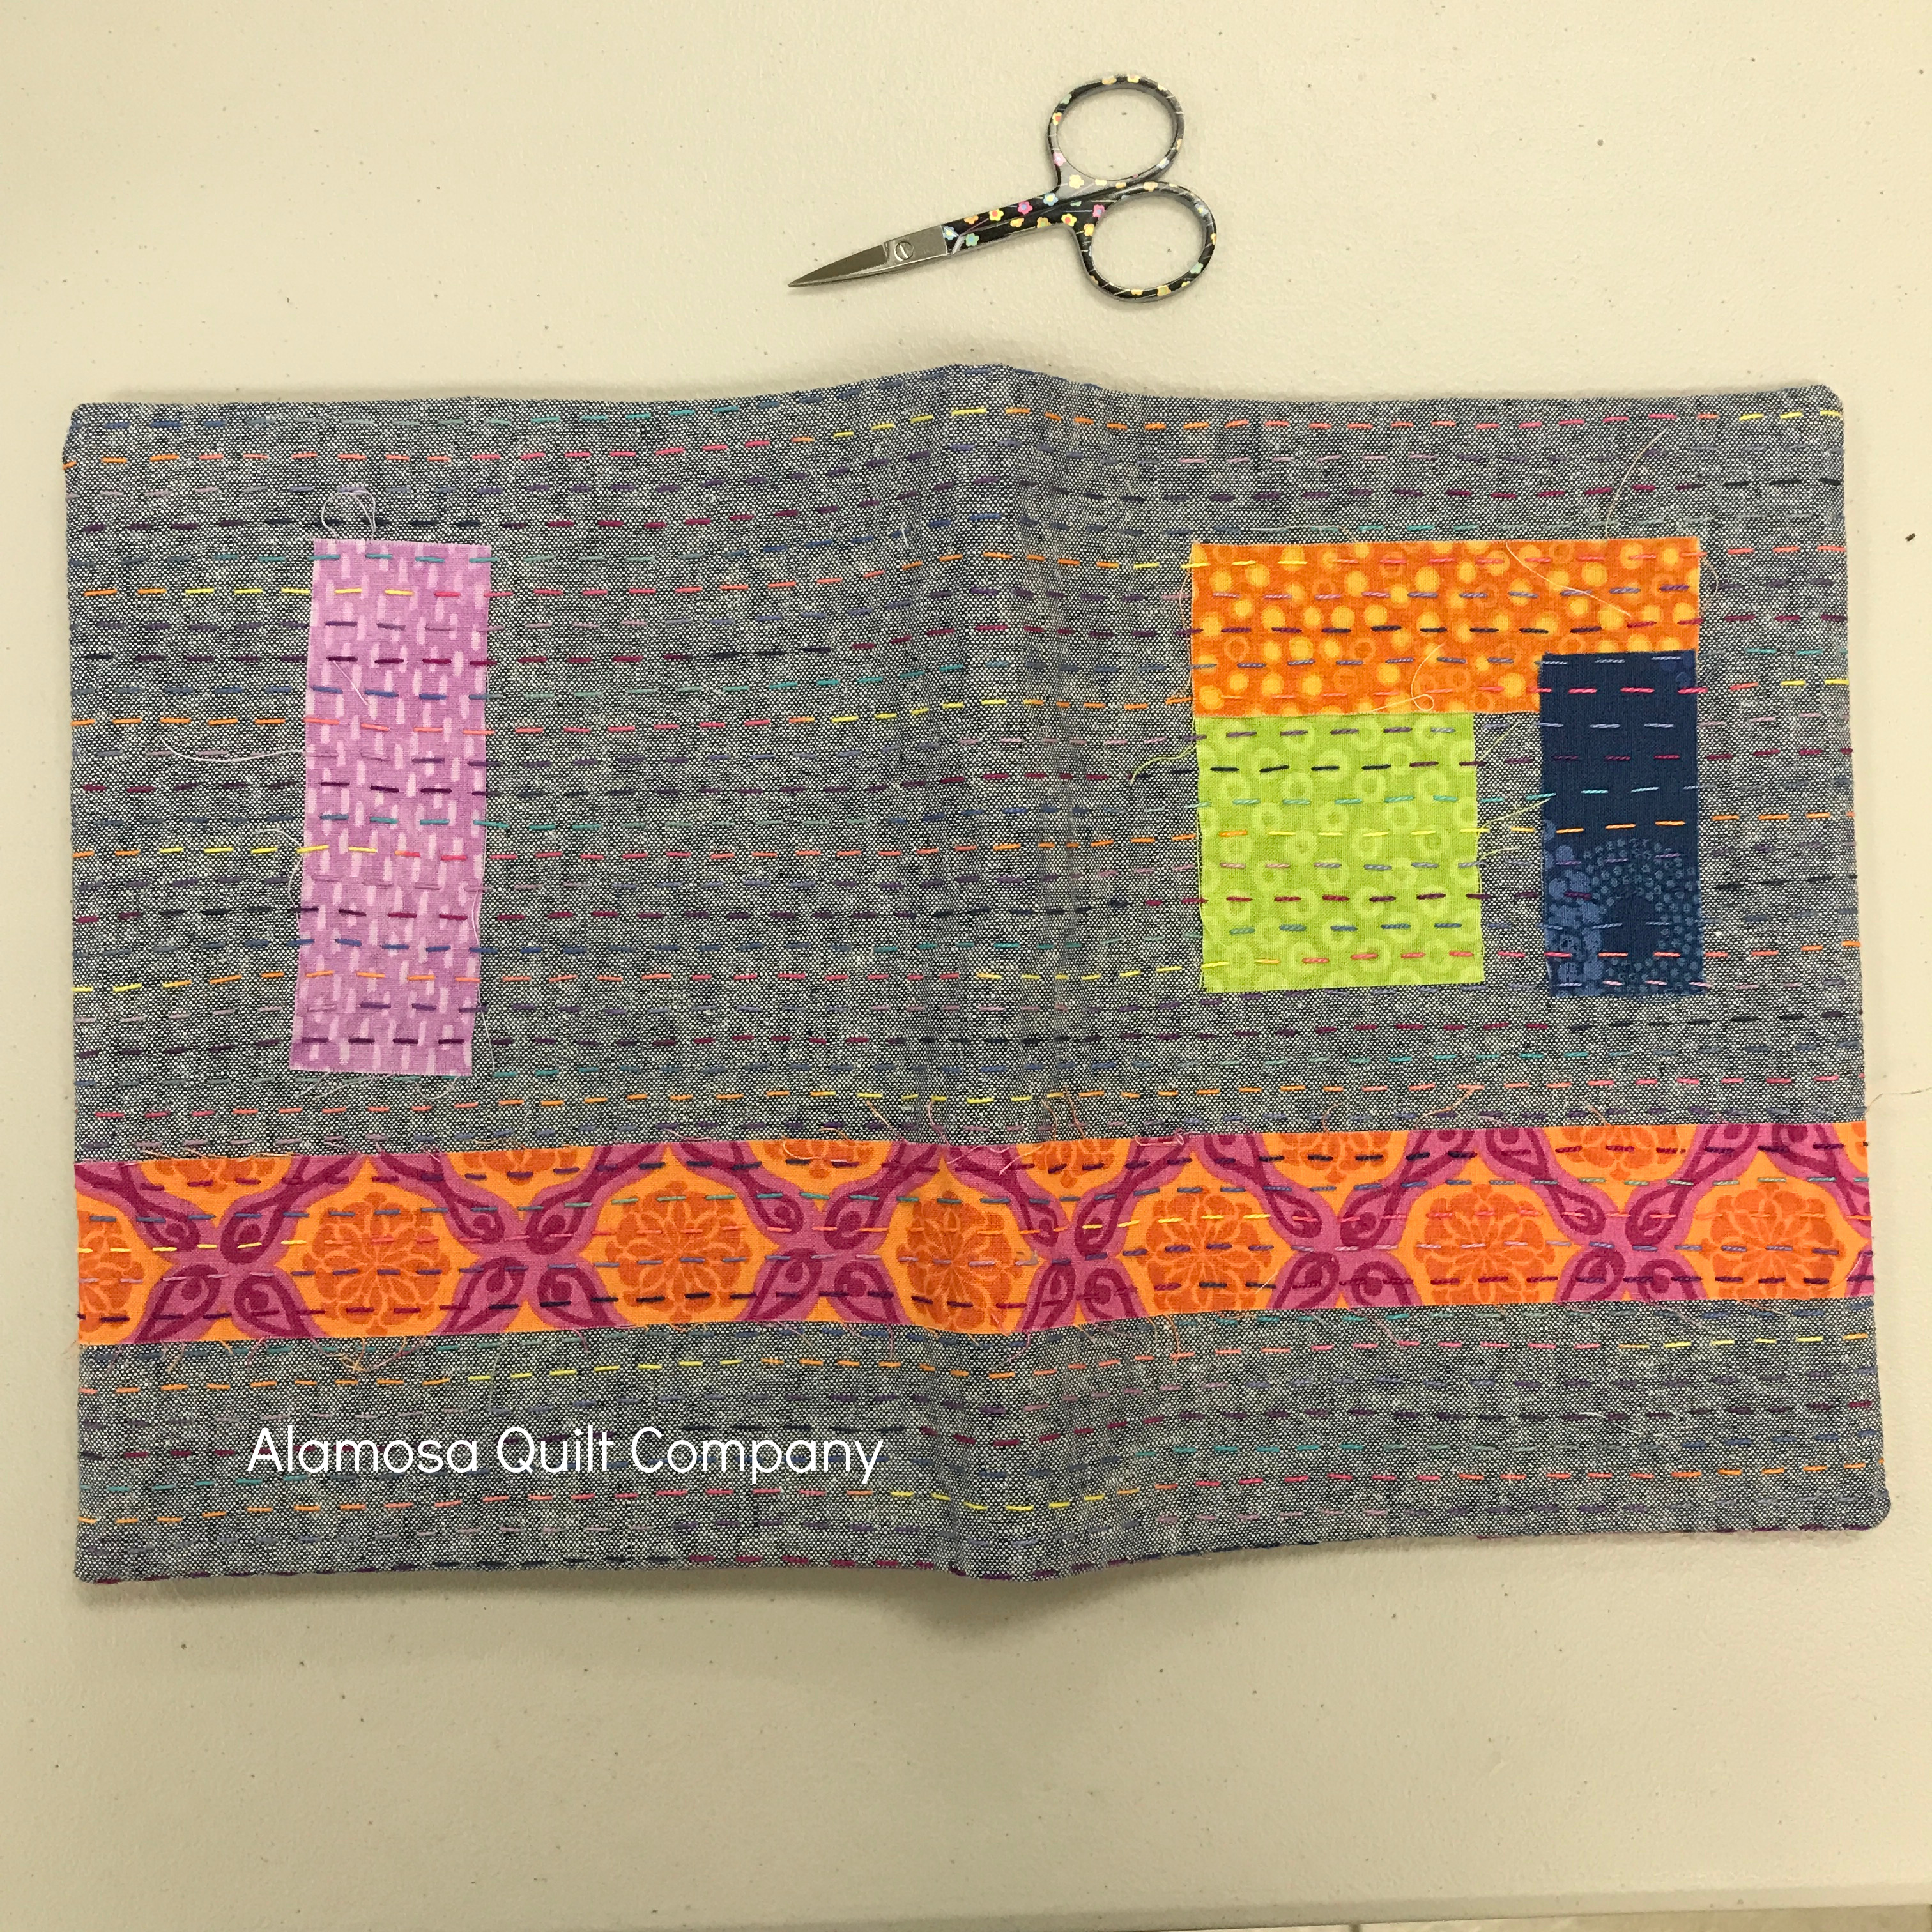
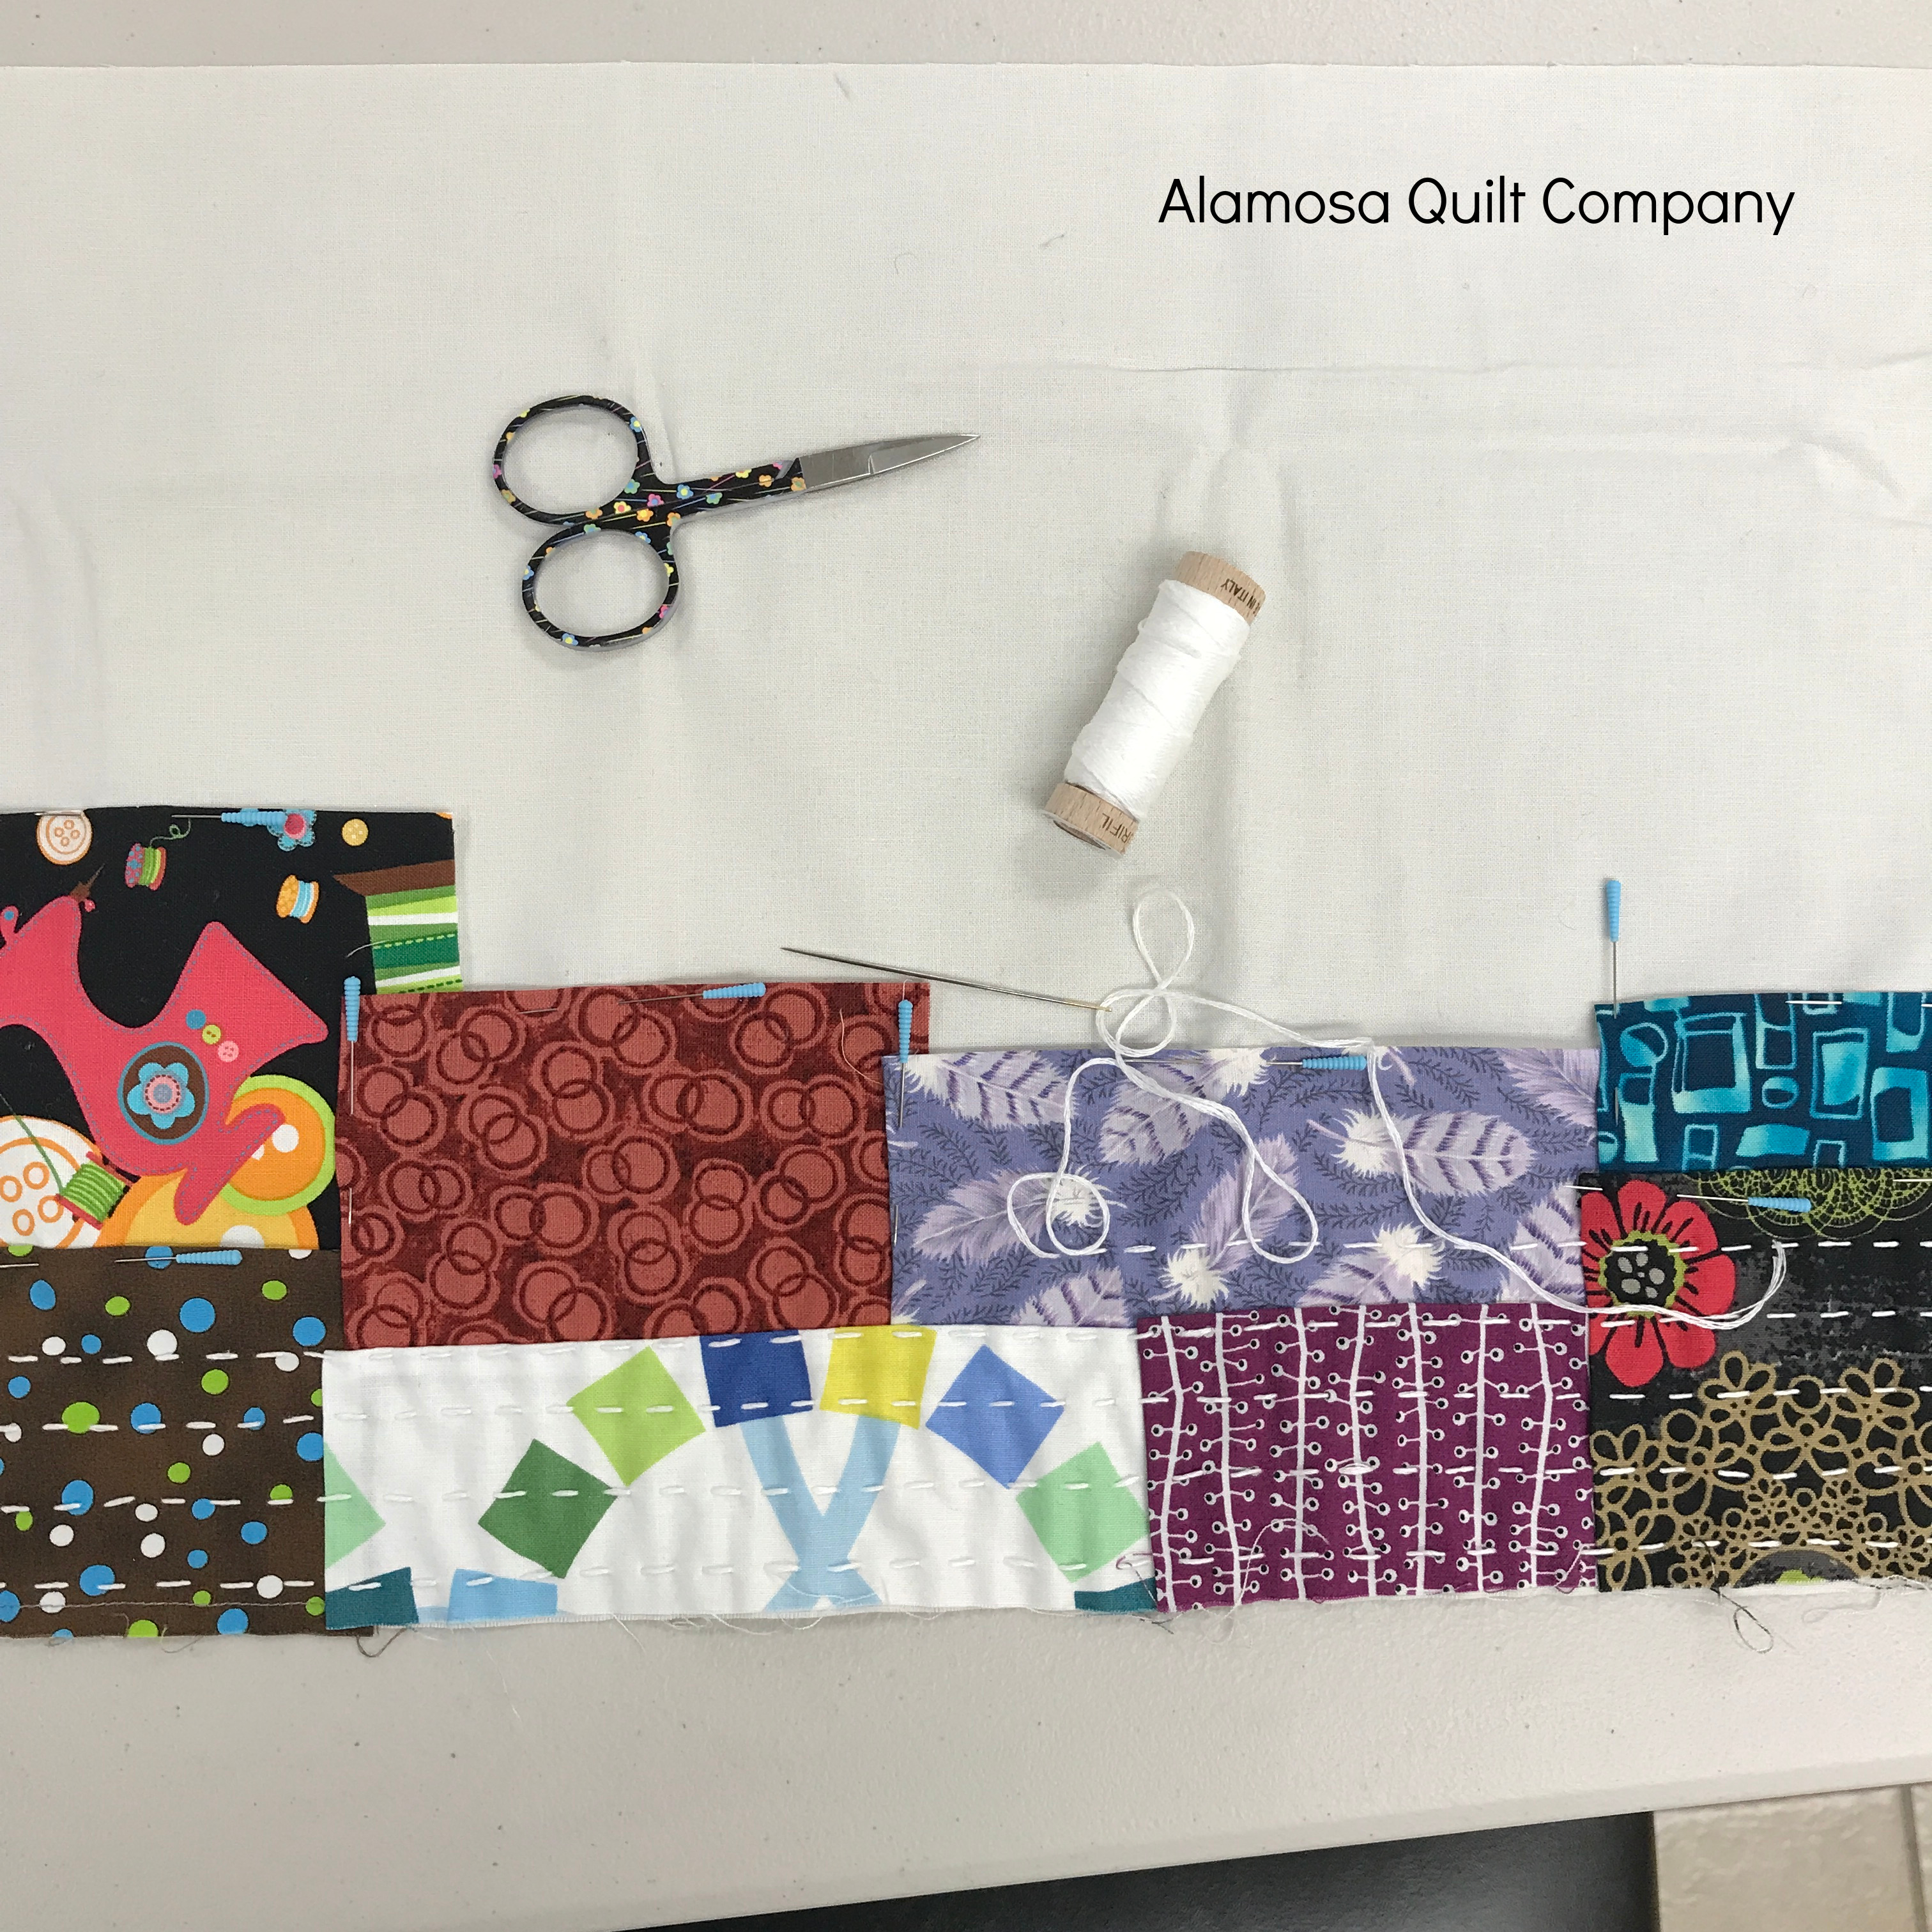
I'm finally ready to share with you my update covered notebook tutorial.
These are fast and fun to make, especially if you use a mini charm packet.
Here is what you will need to make one:
(1) Composition notebook
(1) Mini Charm pack {or (40) 2.5" squares}
(1) Fat Quarter
(1) 18" by 12" piece of batting
No-sew fusible webbing (I use Heat 'n Bond Ultra)
Step 1: Piece the outside cover.
To do this arrange your squares in an 8 across by 5 down layout. When you are happy with their arrangement, sew them together.
I like to spin my seams so that all the seams nest nicely and it reduces bulk at the intersections. Here is what the back of mine looks like so you can see what I mean.
This method of pressing is not necessary. It's just the way I prefer to do it. Press your seams in whatever way makes sense for you.
Step 2: Quilt the outside cover. This step is optional, but I think adds a nice detail to the finished cover.
Layer your pieced cover with your piece of batting, and quilt as desired. Here is how I like to quilt mine.
Start about 1/4" up from the edge in the ditch between the first two columns.
I swing out to the right of the seam line and then aim for the intersection. Then swing out to the left and aim for the intersection. Weaving in this manner all the way up the cover and stopping 1/4" in from the top edge and in the ditch between the first two columns.
Now come back down swinging out to the opposite side of the seam.
This does not have to be perfect. The most important thing is to hit the intersection points of the squares. I do this using free motion, but you can do this with a walking foot.
After completing one column, I stitch on the batting only to move to the next column. Then do the same stitching pattern on every vertical seam line. It will look like this when you have done all the vertical seam lines.
Now you need to do the same thing on the horizontal seam lines. I travel over by stitching on the batting only to the bottom horizontal seam line. Then do the same stitching pattern on the horizontal seams.
Above I have stitched just half of the first horizontal row. Below I have stitched one and a half horizontal rows. You can see the circles starting to form.
Once you have done this on all of the vertical and horizontal seam lines it looks like
I don't worry about quilting along the outside edges when I do this pattern, but you could.
Quilting straight lines on this looks really nice too. You could quilt a simple grid. Use your imagination. This is a great project to try out various designs.
When your cover is quilted, press it well then trim it up to 16.5" wide by 10.5" high. This is the dimension the pieced cover should have ended up before quilting. It might shrink a bit when quilted. Don't worry about that. A couple of mine ended up a bit short. I cheated a bit when trimming it up by trimming about an 1/8" away from the pieced cover. The quilted piece I cut was 16.5" by 10.5" but the pieced part was a little smaller. All that disappeared in the seam.
Step 3: Cut your fat quarter.
Fold your fat quarter in half so that the selvedge is closest to you and the fold is away from you. Cut a 10.5" by 21" strip. Then cut a 4.5" by 21" strip.
From the 10.5" strip, cut a 10.5" by 16.5" piece which will be the lining. From the 4.5" strip, cut two 4.5" by 10.5" pieces which will become the side flaps. From the left over, cut a 2" by 4" piece and fuse a 2" by 4" piece of no-sew fusible webbing to the back side.
Step 4: Make the side flaps.
Press one long edge of each of the 4.5" by 10.5" pieces over twice towards the back and then topstitch this edge. I used a contrasting thread for my topstitching so it would show up in the photo. You may prefer to use a matching thread instead.
As an added detail, I have started adding a "This Book Belongs To:" tag on the front flap. Initially I was hand writing this on a 2" by 3" piece of solid white fabric. Then I got fancy and started printing it out on photo fabric with my inkjet printer. I put a regular sew-through fusible on the back (I use Heat 'n Bond), fuse the tag to what will become the front flap, then sew around the edge to make sure it stays put.
I realize that I could use the same no-sew fusible and skip the sewing around it step, but I like the look of having it sewn down.
Step 5: Baste the side flaps to the outside cover.
Lay your side flaps, right sides together with the outside cover, aligning the raw edges. The topstitched edge of the side flaps needs to be towards the center of your outside cover. Pin them in place. Then sew with a 1/8" seam allowance around the edges of the side flaps.
If you put a "This Book Belongs To:" tag on the front side flap then placement of your side flaps is very important. In the photo above, the front flap is the one on the right hand side. If you look closely you will notice the stitching around the tag.
Step 6: Attaching the lining.
Pin the lining, right sides together with the outside cover. The side flaps should be sandwiched in between the outside cover and the lining. I like to place a pin in the lining on the back side of the cover. See photo below, the pin is circled. Sew all the way around the outside edge using a 1/4" seam allowance.
Where the pin is, about 1.5" in from the seam and centered, make about a 3" vertical slit in the lining fabric only.
In the photo above I have inserted my scissors in the slit so you can see it. I've also place my fused label next to the slit. In this pattern I tell you to use your lining fabric for this piece, but I made myself some labels that I print out on photo fabric using my inkjet printer. It is still a 2" by 4" piece with no-sew fusible on the back.
Clip the corners to reduce bulk.
Step 7: Turn the whole thing through the slit. Leave the side flaps flipped back over the outside cover. Press the edges well.
In the photo above I've circled the slit. Now take your fused 2" by 4" piece and press it on over the slit. Again, your fused piece should be the same fabric as the lining so it will disappear when fused over the slit. I'm using a contrasting fabric so it will show up well in the photos and as a "made by" label for my covers.
Turn the side flaps over so their right sides are out.
The covered slit should be underneath the back side flap. See photo below.
Step 8: Slip your composition notebook inside.
Notice that I put a graph paper one inside this cover. I have found these composition notebooks in Wide Ruled, College Ruled, 4X4 Grid Graph Paper and 5X5 Grid Graph Paper (which is what is shown in the photo above). I think the graph paper ones are nice to use for quilt design planning while the ruled ones are better for lists, notes and journaling.
The last step is to enjoy your new covered notebook.
There are many variations for these. I've done a Minecraft one using 1.5" squares instead of 2.5" squares.
 |
| Cover opened out and before quilting |
 |
| Finished Cover |
I've also done some for which I used a single 10.5" by 16.5" piece for the outside cover rather than piecing the outside cover.
And ones in which the front is one piece of fabric and the back is another.
 |
| front |
 |
| back |
If you want to do this then your front and back pieces need to be 8.5" by 10.5" each.
If you have any questions about this tutorial, please leave me comment. If you are no-reply blogger then I will answer your question with another comment. For everyone else, I can respond directly to you with an answer. If you make any of these I'd love to see them! You can email me pictures or send me a link to your blog or Flickr account or where ever you have posted the pictures.