I'm getting closer to finishing up my potato chip quilt.

I got it quilted this weekend. Next step is binding. I have some scrappy binding and I plan to use it for this scrappy quilt.
Check out the backing fabric I used. I found this in my stash.
.png "Backing fabric")
.png "closeup of backing fabric")


I'm getting closer to finishing up my potato chip quilt.
I got it quilted this weekend. Next step is binding. I have some scrappy binding and I plan to use it for this scrappy quilt.
Check out the backing fabric I used. I found this in my stash.
I used sashing and corner stones to complete my quilt top using the 12 blocks that I made. If you made 12 blocks and you want to finish your blocks the way I did, the directions are below.
You will need (31) 2" by 12.5" for the sashing and (20) 2" by 2" squares of scraps for the corner stones. If you used the larger 2.5" by 4.5" potato chip pieces, then you need (31) 2.5" by 16.5" rectangles for the sashing and (20) 2.5" by 2.5" squares of scraps for the corner stones.
Using the (20) squares of scraps and (15) of the sashing rectangles, make 5 strips for the horizontal sashing. Each row needs to start and end with a square and have three sashing rectangles in between the squares. See the photo below for what you need to make.

Next you are going to add the remaining (16) sashing rectangles in between the blocks. You'll need to make four rows of three blocks with sashing rectangles in between the blocks and on both ends. See the photo below for a sample of what you need to make.
.jpg "a sample of the block rows")
Note that the photo above only shows two rows but you need to make four rows. I alternated the orientation of the blocks but honestly, it really doesn't matter.
And here is my finished top!
.jpg "my completed potato chip block variation 2 quilt top")

How are doing with your Potato Chip variation 2 blocks? I have four blocks completed and the other eight are in progress.
.jpg "four completed blocks")


This post contains all of the directions for making ONE Potato Chip Block (Variation 2). The instructions to make the original Potato Chip Block can be found by clicking the following link: Original Potato Chip Block
I cut scraps for most of this quilt. All of the "chip" pieces are scraps. I did use a single fabric as my accent fabric, but you could just pick a color and use a variety of fabrics of the same color. If you want to use the same fabric for the accent as I did, you'll need 1 to 1 1/2 yards of it depending on the size of chips you use and whether or not you add sashing between your blocks.
Finished size of one block is 12" by 12" (12.5" by 12.5" unfinished)
What you need for ONE block:
(30) 2" by 3.5" rectangles (chips) from scrap fabrics
(12) 2" by 2" squares and (1) 3.5" by 3.5" square from a single fabric (I'm using a white on white)
{Note: You can also use (30) 2.5" by 4.5" chips from scraps and (12) 2.5" by 2.5" and (1) 4.5" by 4.5". If you use the larger size chips then your blocks will finish at 16" by 16".}

Draw a diagonal line on the back of all twelve of your 2" squares {or 2.5" squares}.

Pick 12 chip pieces. We are going to do the stitch and flip method to add these 2" squares {2.5" squares} to your chip pieces. Be sure to look closely at the photo below so that you sew them on correctly. Half of them have the diagonal line running one direction, the other half have the diagonal line running the other direction. This is important!

These units are not symmetric so you can't just flip it over and have it be correct. Sew directly on the drawn line. Then cut off the excess 1/4" away from the sewn line.

Press the seam. I just flipped the little white triangle over and pressed toward the white triangle. You can press the other way or press your seam open.

Using just four of these, two of each kind, sew them together in pairs along the short side like in the photo below.

Sew one chip piece to opposite sides of the 3.5" square {or 4.5" square}. Press away from the center or toward the center, whichever way makes most sense to you. Throughout, I pressed everything away from the center.

Now take the paired pieces and add them to the top and bottom of the center unit.

Using four chip pieces, sew them together in pairs along the short side.

Now add these units to the block using the image below as a guide.


Next you need four of the chips with added accent triangles, two each of both kinds, and two chip pieces. Notice the white arrows along the left hand side of the image below. These are pointing to what you need to make.

Then sew these to the block and it will look like the image below.

Now you need 6 chip pieces. Sew them together in a row of three along the short sides. In the image below the white arrows along the top are pointing to what you are making.

Then sew these to the sides of the block. It should look like the block in the image below.

Almost done! You should have four chip pieces with the attached accent triangle left, two of each kind. Sew a chip piece to each along the short side without the accent triangle. Then sew these together along the short side of the chip pieces making sure that you have one of each kind of accent triangle on the ends. White arrows along the left hand side are pointing to the units you are making in the image below.

Attach them to the center and the block is done.

Again, if you use 2" by 3.5" chip pieces like me, your blocks should measure 12.5" by 12.5" at this point. When the quilt is done they will measure 12" by 12". If you are using 2.5" by 4.5" chip pieces, your block should measure 16.5" by 16.5" at this point and will measure 16" by 16" when the quilt is done.
I am making 12 blocks. I'm going to give you a week to get as many blocks as you want to make done before giving you the finishing instructions. I will be adding sashing and corner stones to my blocks.
As incentive for you to get some blocks made, at some point next Monday I will post a photo of the blocks I have completed. Hopefully it will be 12 blocks, but I might not get that far. In that post will be instructions as to how you can let me know how many blocks you have completed and a deadline for when you need to have done that. You will need to show me a photo of your completed blocks or bring them into the shop by the deadline. Don't worry, you'll have a couple days to do this.
Every completed block you make will get you one entry in the prize drawing. Depending on how many people participate I might draw more than one name. The prize will be a bag of scraps. Don't worry, there will be no tiny pieces. Scraps from my shop are no smaller than 2" with most being 3" or larger. These are leftovers from shop samples and end of bolt pieces that are smaller than 18". This is only for folks in the US.
If you are not in the US you can still participate, but the prize will be a PDF pattern that I can just email to you as shipping is prohibitive for mailing scraps outside the country. If you win a bag of scraps, and live in the US, I will pay to ship them to you if you aren't local. If you are local, then you can just come pick it up at the shop.

Scrap Tape is a non-woven wash away interfacing. Have you ever heard of sewing to receipt tape or phone book pages as a foundation for sewing with scraps? Well, Scrap Tape does the same thing BUT, you don't have to take it off before using your scrap piece in your project. This is the part that really appeals to me! I hate ripping paper off the back of pieced fabric units/blocks! It's so time-consuming and messy!
Scrap Tape is currently available in three sizes:


I purchased a roll of the 5" wide Scrap Tape and used it to make this adorable 40" by 50" charity quilt.
.jpg "Scrap Tape Charity Quilt")


I had some unexpected sewing time at the end of last week so I decided to add the inner border and a pieced outer border to my Potato Chip Block quilt.

I used up all but about a dozen of the pieces I cut for this project! The inner border was cut 2" wide, just like all the pieces. It took me a little bit of trial and error to get the outer border pieces sewn so that the pattern continues around the corners AND no fabric was sewn to itself. That last part got harder as I had fewer pieces left over to work with, but I did it!
I am going to quilt this one myself and try out a new brand of batting in the process. If I like the batting I will tell you all about it. If I don't I will follow the "if you can't say anything nice, don't say anything at all" rule.
Instructions for the Potato Chip block can be found by clicking the link.

I finished this quilt recently.

I used some scraps of older Kim Diehl fabrics and the Cats Cradle ruler from Creative Grids.


I did a big clean out of my office at my shop last week. I threw out a bunch of junk and found a few treasures.
I found a one yard piece of convenience fabric (cheater cloth). I also found a scrap of batting that was the perfect size, left over backing fabric from a shop sample that was the perfect size and leftover binding fabric from my binding leftovers stash at home. So this project cost me nothing!

Not sure if I will just donate this to my local guild for them to do whatever they want with it or if I donate it elsewhere.

I recently came across a new-to-me ruler: Cat's Cradle Tool from Creative Grids.


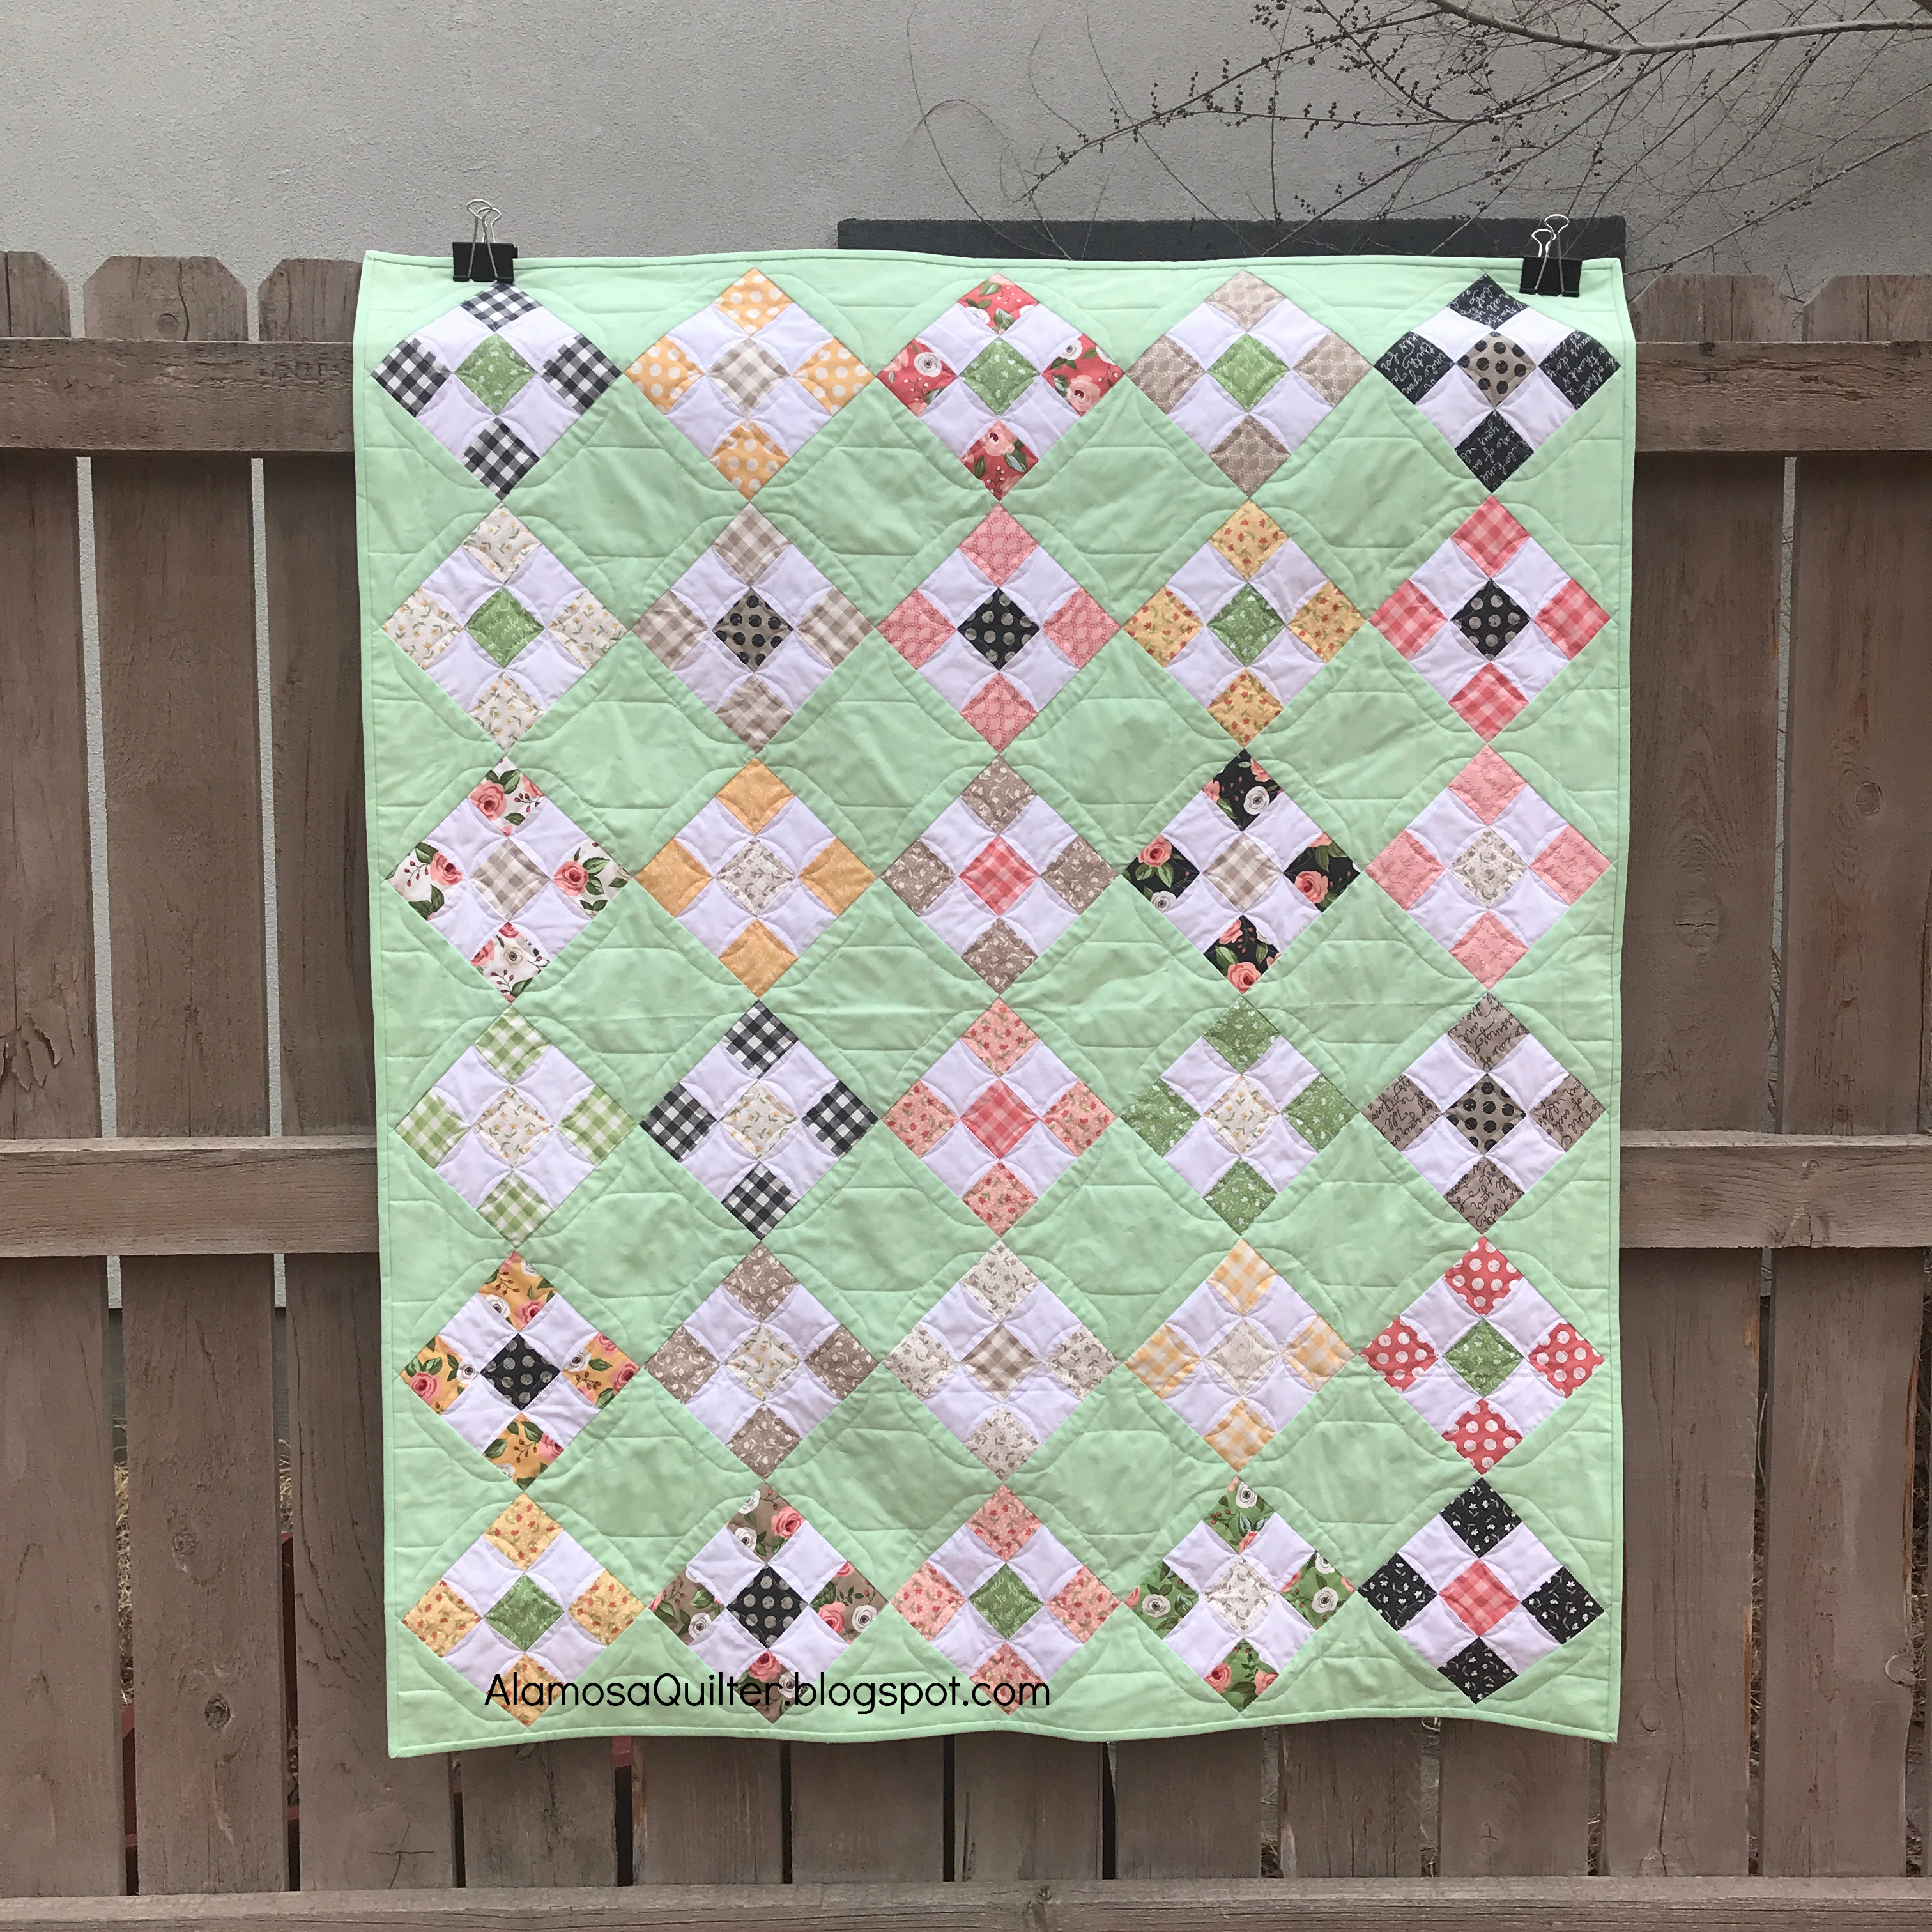
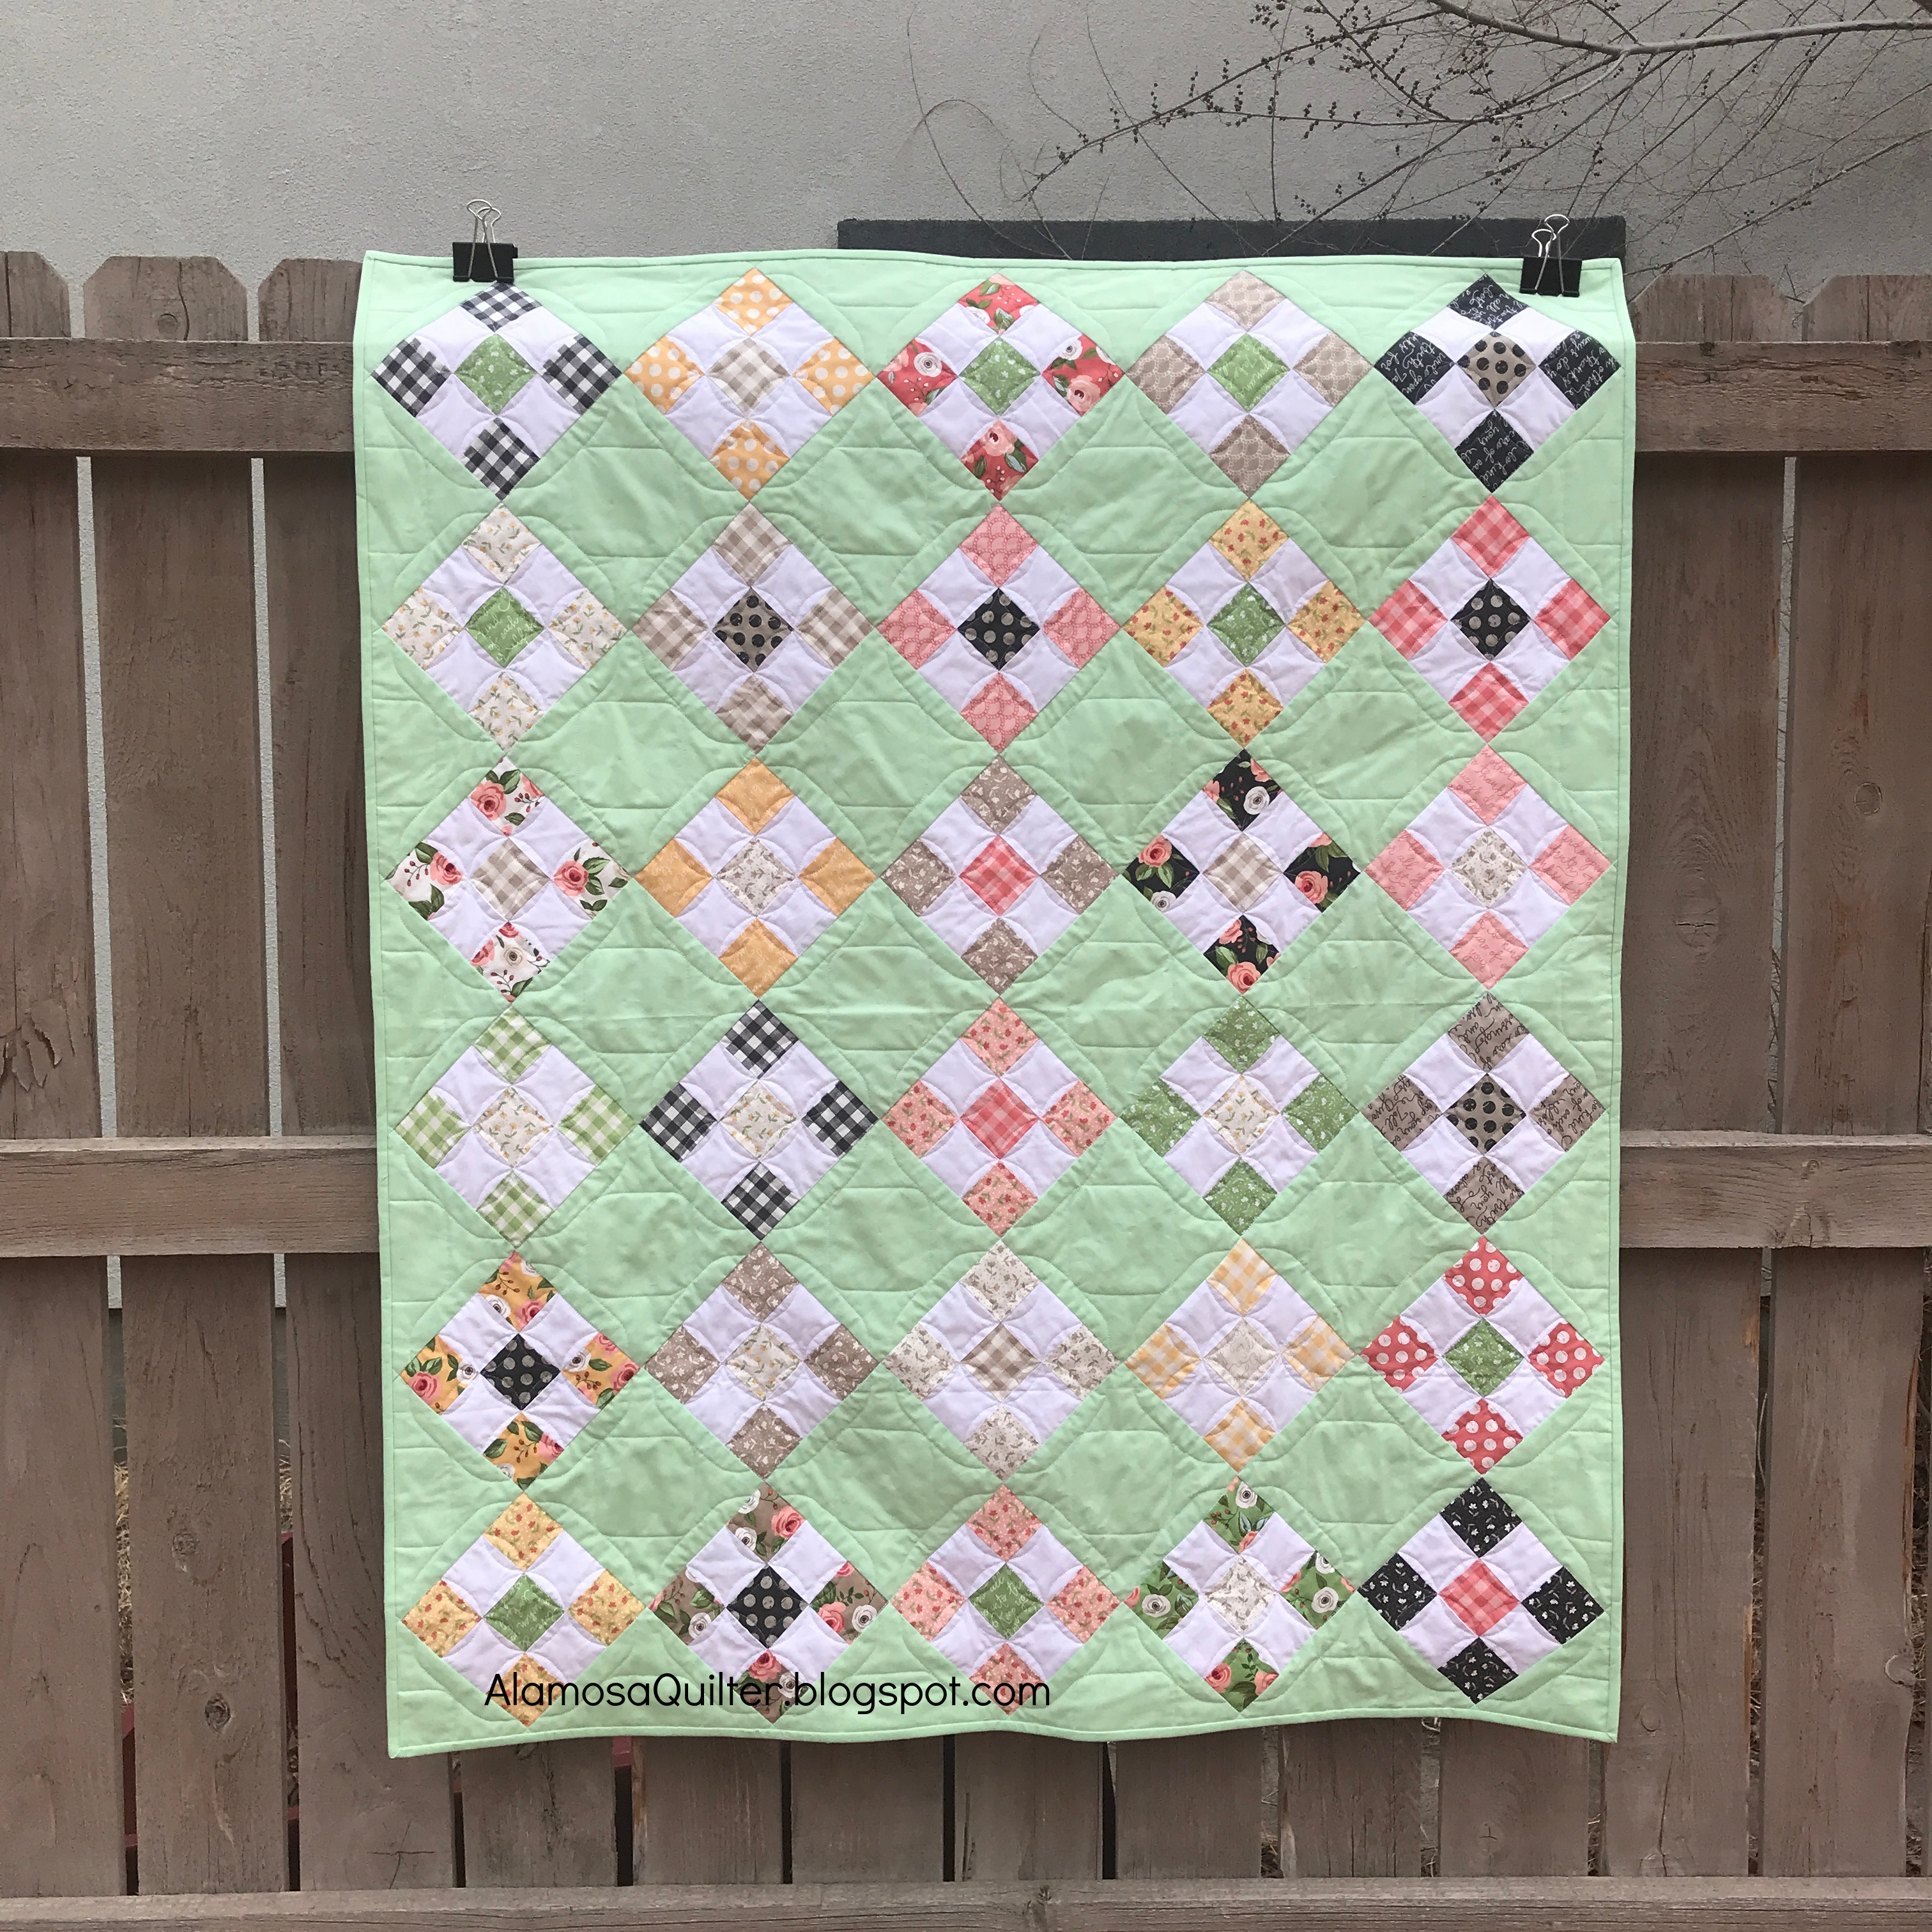
My mom pieced the top of this quilt and sent it to me to finish and donate to charity.
For the back I used this adorable elephant fabric.

To quilt it I used a few different rulers.
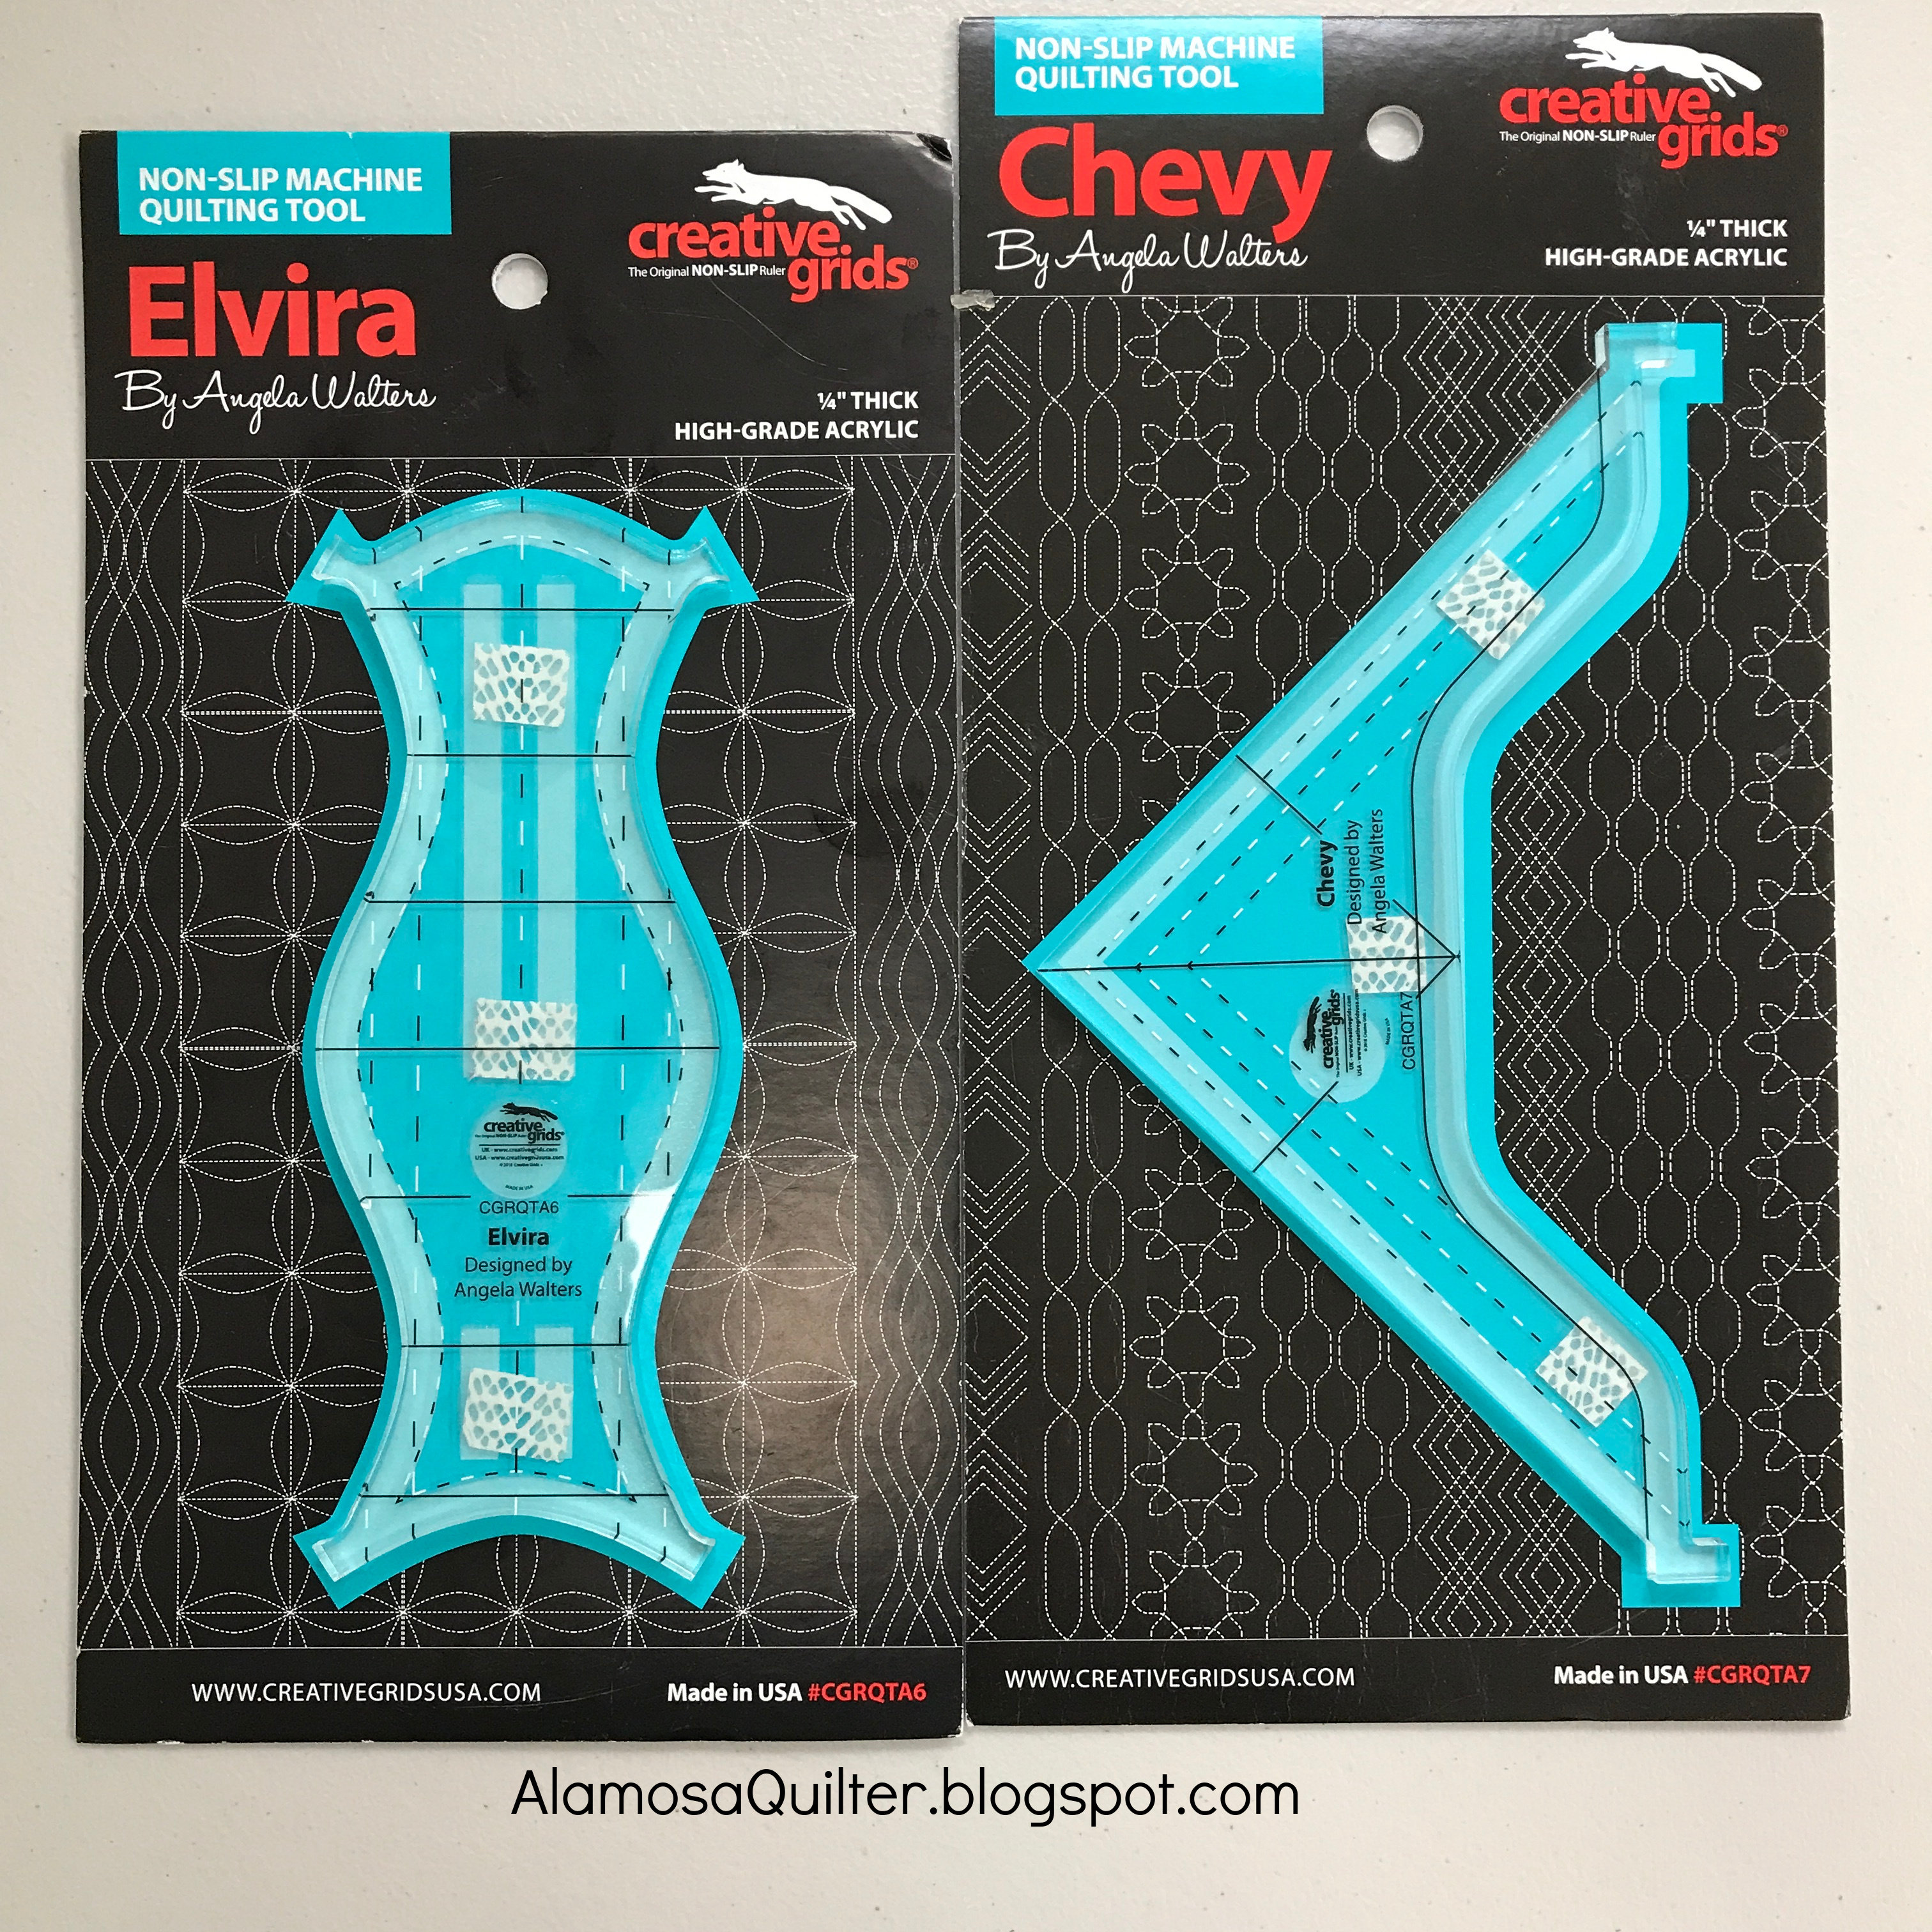
In addition to the two above, I also used a straight ruler for stitching in the ditch. I stitched in the ditch around all of the blocks first. Then I used Elvira to quilt the nine patch blocks.

The nine patches were made from 2 1/2" strips and Elvira is designed to quilt this pattern on 2" finished size pieces.
I used Chevy to quilt on the plain green squares.

I went from one side of the quilt to the other then came back to get the other side of each square. Then I turned the quilt and repeated the process so that every plain square got quilted the same from all four points. It created an interesting pattern on the plain squares.
It finishes at about 40" by 50". Here is the finished quilt again.