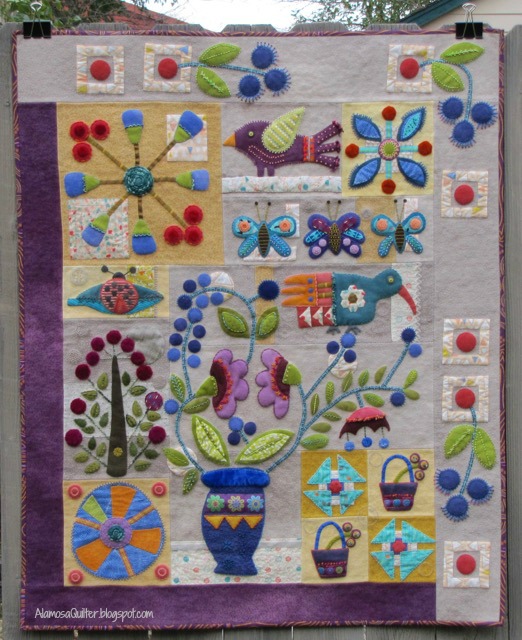
This is a such a big finish for me. The quilt itself is not big, it's about 36" by 44", but it took me many hours to complete.
The background was pieced by machine. Everything else was done by hand. I did a seed stitch for the quilting which you can see better in each of the following close-ups.
The pattern is called "In Full Bloom" by Sue Spargo. It was her 2014 block of the month. Thus, I began this project in January 2014 and finished it yesterday. This quilt is mostly wool, but also contains some silk, linen, cotton and velvet as well as ribbon, beads and lots of different kinds of embroidery threads.
Here it is one last time.
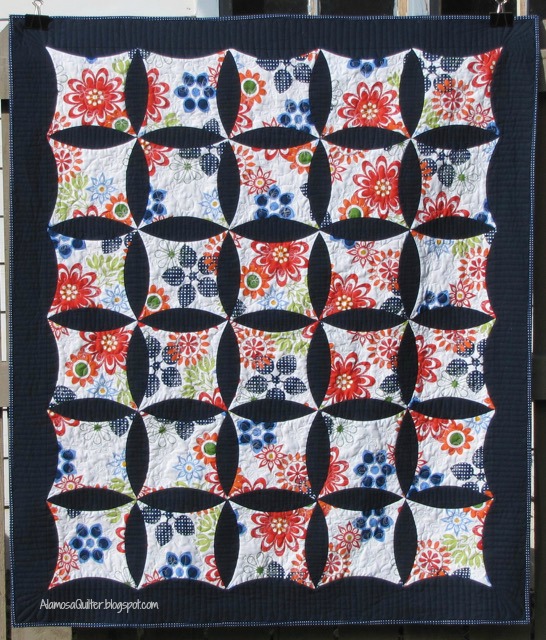
I completed this top in August 2013. Click here for that post including a photo of the unquilted top. I'm happy to report that it is now a completed quilt.
For the quilting I did a back and forth pattern in the solid blue and then quilted flowers and loops on the print. You can see the quilting better on the back.
I used the block instructions for one of the blocks from my Curve It Up Quilt. The block is in the top left in the photo below.
In the photo above, the center of the block starts out as a four-patch. For my quilt I used a single fabric. The finished quilt measures approximately 46" by 54".
It feels great to have an UFO completed!
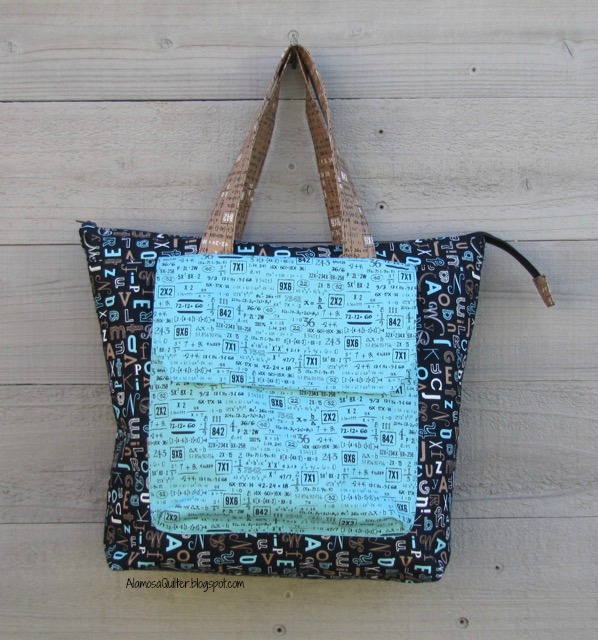
I was fortunate to be chosen to test another pattern for Svetlana. This is the Jenna Tote.
It has a large exterior pocket on the front and a concealed zipper pocket on the back.
The interior is roomy with another pocket and the top is closed with a zipper.
As you should know by now, I love to make bags. Some bags are just cute and fun to make. Others are also very functional. This is one of those cute, fun to make and functional bags. It is a great size at 12" wide on the bottom/15.5" wide on the top by 12.5" tall by 4" deep. It will hold a lot of stuff. I really like the zipper closure on the top. Many of the bags I make have no top closure or just a magnetic snap closure.
As with the other pattern I tested for Svetlana, this one is well-written and easy to follow with lots of pictures of each step. Svetlana rates the difficulty of this pattern as "advanced beginner, prior experience with zippers is highly recommended." I have to agree with that. There was nothing tricky about the construction. An advanced beginner may not be able to see ahead to how the bag will come together, but if you follow the directions step by step you can be successful.
The pattern was released yesterday. Click here to go to Svetlana's blog to see the bags the other testers made and for links to this pattern as well as the other great patterns Svetlana has available.
Last weekend was my guild retreat and I didn't get to go. I won't bore you with the details or my disappointment. Not attending did not mean I didn't sew. I had my own at home retreat instead and spent most of Friday, Saturday and Sunday sewing.
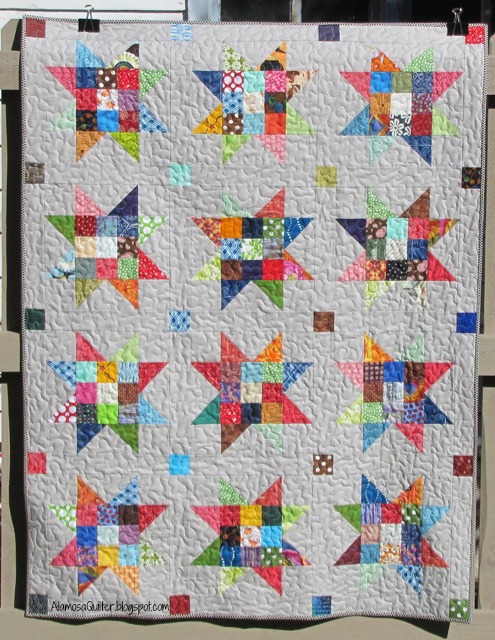
My first project was to quilt and bind my Scrappy Little Wishes top.
It is simply quilted with an all over meander. The finished quilt measures 44" by 58".
In addition to this quilt, I quilted one of my completed top UFOs and worked on hand quilting my In Full Bloom quilt. I hope to have both finished soon!
The at-home retreat worked out well productivity-wise. I did miss all the socializing though.
This will be the last time I subject you to this project until it comes time for quilting it. Like I said yesterday, it will be a while until I can quilt it since it will be going to Kathy's Fabric Trunk as a store/class sample for a while.
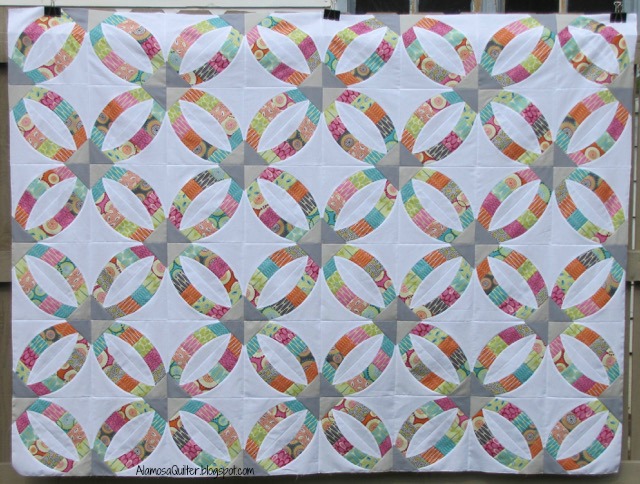
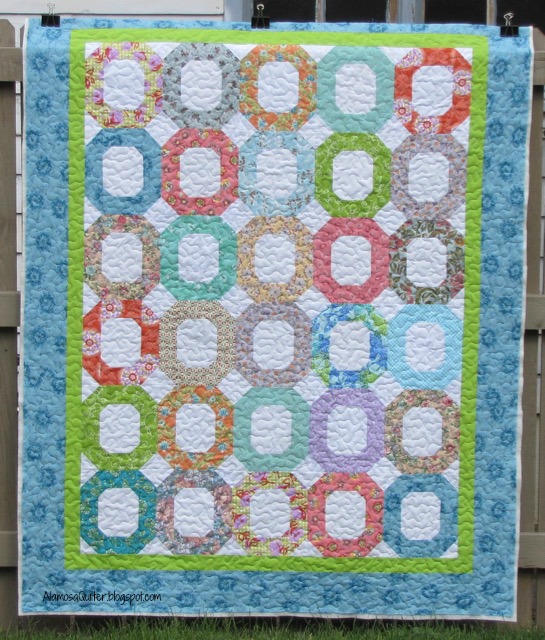
I absolutely love this quilt! The pattern is Metro Rings by Sew Kind of Wonderful. Look for it at your local shop or order online directly from Sew Kind of Wonderful. It is a Double Wedding Ring variation. If you have always loved the Double Wedding Ring pattern but never felt confident enough to make one, try this method.
The pattern requires the Quick Curve Ruler, which is available either from your local shop or Sew Kind of Wonderful. I'm not a big fan of specialty rulers in general, but this is one specialty ruler I'm really glad I own. I love most of the patterns Sew Kind of Wonderful puts out and have made quite a few of them.
I thought I would share with you this trick. If you have ever finished a top then set it aside for any length of time before quilting it, you may have noticed that the edge of your top may have frayed. Another issue is the seams along the edge may pull out if you don't backstitch as I don't. I noticed this with the very first quilt I made as a store sample. Store samples get handled a lot!
After that first unquilted store sample I started zig zagging around the edge of every completed top unless I planned to quilt it right away.
This helps tame any fraying that may occur and also helps to hold those outer seams in place for an extended period of time until I have the opportunity to quilt it. I've been doing this for a while with store samples and it has really helped them to hold up as unquilted tops.
Maybe you don't make store samples, but I bet most of you don't quilt everything as soon as you finish it. If you are like me, you may move your unquilted tops many times before they finally get their turn to be quilted. Periodically I open them up to pick the next one I want to quilt and to refold them. Zig zagging around the outer edges of your tops will help protect the edges until they get quilted.
I was going to wait to post about this again until I had the whole top together. But I'm so excited about how this is turning out that I had to take another photo for you. Besides, I didn't have anything else to show you today.
The top is almost finished. I had to clean off my design wall so I could get the whole thing up. At this stage the blocks are sewn into fours. I should have the top finished by the end of the day today. It will be a store sample at Kathy's Fabric Trunk so I will not be quilting it until it has done it's duty at her shop.
As you can see, I went with option #1 from my previous post about this quilt. The two grays I'm using are both Kona solids. The light is Ash and the darker is Medium Gray.
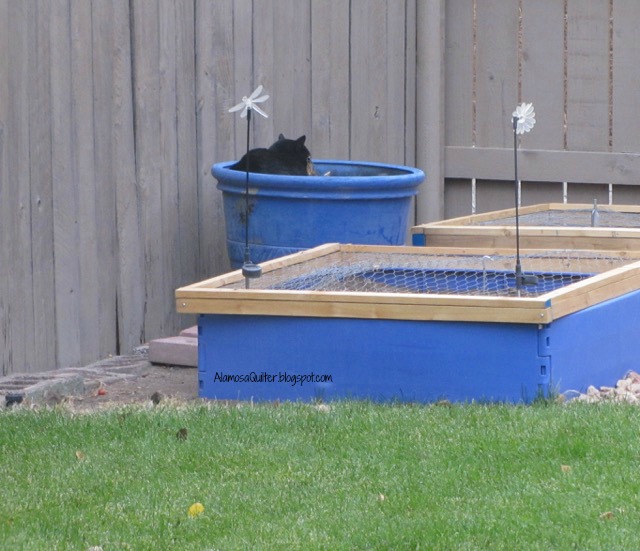
I also thought I would show you our autumn crop of potted cat.
Just one has come up thus far.
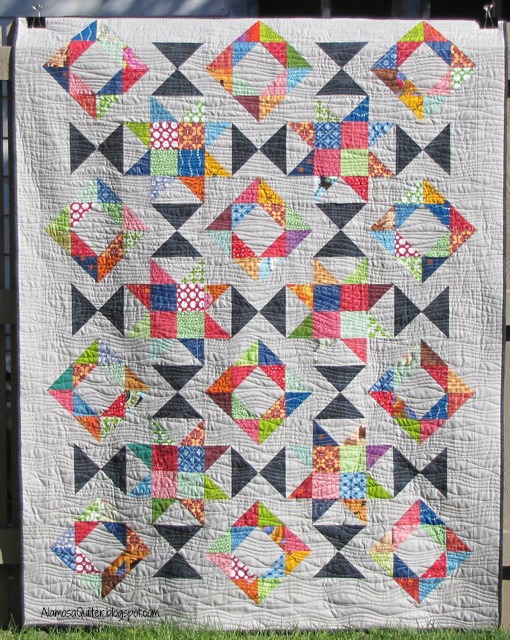
I'm off to my scrap group later this morning so I can now show you the mystery quilt we have been working on for the last few months. Spooky showed you the back of this quilt and some sneak peaks a few weeks ago. Click here for that post.
The pattern is called Foothills Mystery Quilt and is by Meadow Mist Designs. Click here to go to her Mystery Quilt page. She has a new mystery that is ending next month that you may want to check out too.
The finished size of this quilt is 54" by 72".
Last Friday I took an all day class with my guild. The teacher was Margaret Willingham. Her company is Eye of the Beholder. The link will take you to her website.
This is my class project.
It is currently 12" by 12" but it is meant to be cut down to about 7" square. I have no idea what I will do with this block. Margaret suggested we could turn them into pot holders. For now I just put mine in my orphan block basket. I took the class to learn her technique, not necessarily for the project.
It was a fun class and Margaret is a good teacher. On Saturday she did a lecture and trunk show after our guild meeting. It was fun to see all of her designs up close.
This is gonna take a while!
Everything is cut except the triangles because I still can't make a fabric decision on them yet. They are sewn on last before squaring up the blocks so I have some time.
It's time to put on a movie and sew some curves.
The fabric I am using is a jelly roll of For You by Zen Chic for Moda and Kona white.
Click here to read the first post about the making of this project.
My guild has a Projects Chairperson. Her job is to come up with projects for the guild to do together. A popular activity is our Winner Take All Block of the Month.
The way it works is one month the Projects Chairperson hands out a pattern for a block along with any color, theme or other requirements. Any one who wants to participate makes the block according to the rules and brings it to the next meeting. You get to put your name in the drawing to win the blocks once for every block you brought. The winner wins all the blocks.
Below is the block for this month.
I wasn't sure I liked it until looking at it through my camera. It was hard for me to see the design. In fact, I kept checking the pattern because it didn't look right to me. Well, it is right. A little distance was what I needed.
Bonus: the fabrics were straight from my scrap basket. It is good to have some bigger pieces in the scrap basket.
It didn't take me long to sash the blocks and assemble them into a finished top.
I was given the perfect backing fabric recently by a friend. I hope to have time to get it basted and quilted soon.
In case you missed it previously, here is the link to the free pattern by Pat Sloan.
I've wanted to make this pattern since I first saw Jenny was playing with the idea of doing a double wedding ring with her Quick Curve Ruler. I plan to start on it this week.
My background will be white. I have not decided what fabrics I will use for the triangles, but I have several options. I plan to make a few rings and then try out my options before making a decision.
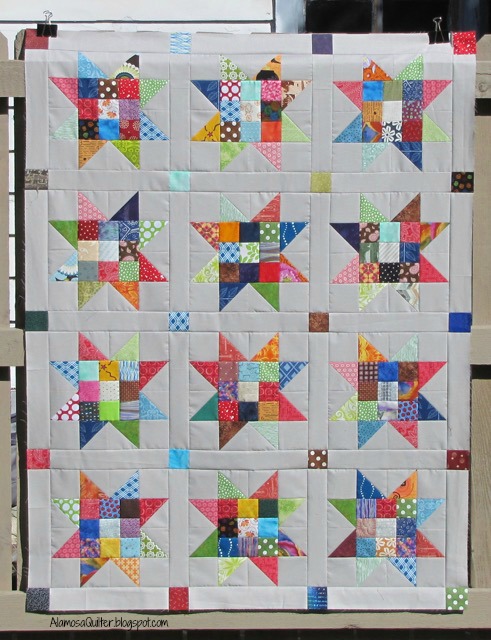
A few weeks ago I showed you the start of my blocks for Pat Sloan's Scrappy Little Wishes Challenge. Click here to read that post and for the link to the challenge.
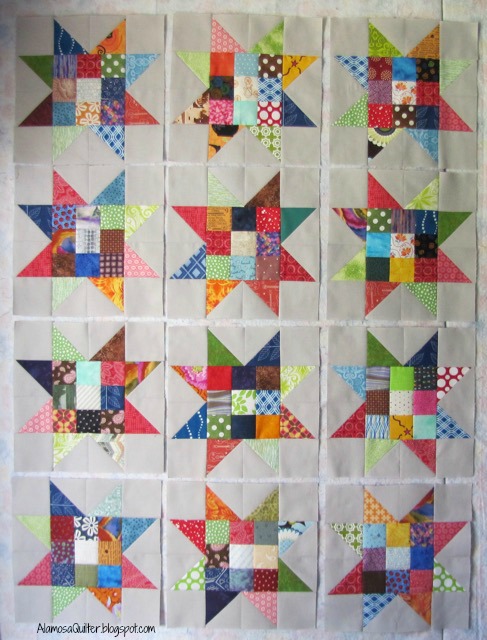
After completing my scrap group mystery quilt last week, I realized that I made way too many half square triangles for that project and even sewed quite a few of them into star points. These are the same size as I need for Scrappy Little Wishes. So I changed gears on this project and used the star points I had already sewn.
For some reason I made 14 nine patch centers. Thus, despite having already made two blocks with my scrappy white/cream backgrounds, I had enough to do the above 12 blocks with gray background fabric.
So I've made 14 blocks in all. The 12 with the gray background will become one quilt. I have already cut sashing fabric from the gray and will use more 2.5" scrap squares as corner stones. This will give me a finished quilt size of about 44" by 56".
I will keep working on the other blocks as I have everything cut to make at least 10 more of that color way. Maybe I will set them differently. I'll have to make them all and see what they tell me before making a final setting decision for them.
This is my mom's quilt. She brought it to me for quilting.
She requested a simple all-over meander. I am returning it to her and she will do the binding.
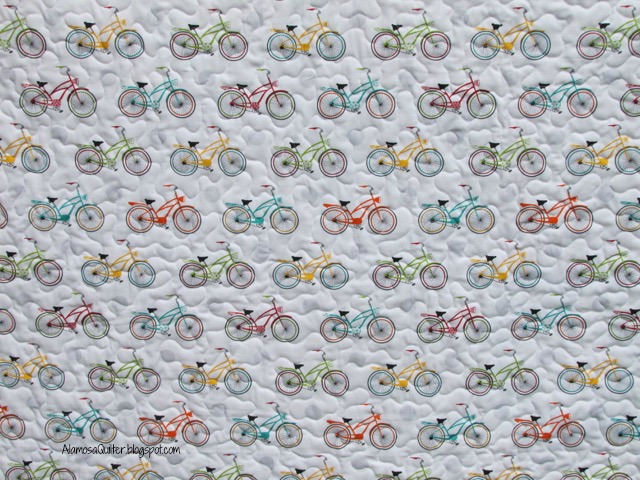
I think the backing fabric may be my favorite part of this quilt.
Bicycle fabric seems to be popular right now.
I finished the second pin cushion I began last week.
I used the same cotton print on the front for the back.
And I added an initial tag that I stamped with a metal stamp.
This one may turn into a class sample.

