Showing posts with label tote bag. Show all posts

Monday, December 15, 2025

Fun and Simple Bag Project with Video Tutorial

 I got these adorable Coca Cola Canvas Bag Panels in recently. 

Coca Cola Canvas Bag Panel


While I was making the shop sample I filmed my process since I opted to use different directions than what is printed directly on the panel. There is nothing wrong with their directions, I just wanted to make it using only a straight stitch and having no raw edges any where on the finished bag.

Here is the video:


If the video does not play for you here then you can watch it directly on my YouTube Channel by following this link: Coca Cola Canvas Tote Bag Video Tutorial

At the time of writing this I have quite a few of these bag panels:

Coca Cola Canvas Tote Bag Panel

I also have just ONE left of the same type of panel with a different motif:

Mr Bones Canvas Tote Bag Panel

To make these I used my Hot Ruler. If you don't have one of those they are pretty handy!

Hot Ruler

There is a similar product called the Hot Hemmer. I have them both, but used the Hemmer Ruler for this particular project. 

Hot Hemmer

The video tutorial is about 45 minutes long but if you aren't filming it and explaining what you are doing then you can make it a bit faster. So it's not a big investment in time or money.


Monday, February 5, 2024

Final Half Pack Project :: The Tippy Tote

 If you aren't familiar with Sassy Sunflower Half Pack Quilt Kits click the following links to read about them and to see the others that I have shared - First post about Half Pack Quilts and Second post about Half Pack Quilts and Third post about Half Pack Quilts and Fourth post about Half Pack Projects.

The pattern used for this one is the Tippy Tote using our Elephants Half Pack.

Tippy Tote using our Elephants Half Pack

inside of Tippy Tote using our Elephants Half Pack

There is a pocket on the outside of the bag as well as inside the bag. The pockets inside the bag are completely customizable to fit YOUR stuff.

The kits are now available on my website! You can click the following link to view all the Half Pack Projects on one page: Half Pack Project Gallery. Finished sizes of each project are listed along with how much backing fabric is required for each project. All of the quilts require 1/2 yard for binding. The tote bag does not need binding but does need some interfacing and batting. All that information is on the Half Pack Project Gallery.

The kits are available for purchase either by following the link from the Half Pack Project Gallery or with the following link: Half Pack Kits.


Friday, June 9, 2023

Want to join me for a virtual class?

 I will be offering my first virtual class through my shop later this month. Since the class is virtual (gonna use Zoom), you can participate from anywhere. Here is what we will be making:

Canvas Tote Class Sample

This is a Canvas Tote Bag. The class fee is $20 and includes a copy of the pattern plus enough canvas fabric to make one bag.

Here is what the pattern looks like, Canvas Tote.

Canvas Tote Pattern Front

I've got a few kits cut already but I have more canvas to be able to cut quite a few more kits, if necessary.

a sample of the canvas kits I've cut for the class

When you sign up for the class you can request a specific canvas fabric (everything I have in canvas is shown in the photo, but some of them are already sold out). I'll do my best to send you the canvas you request but I can't make any promises as I only have what I have of each one.

One of several tools I will demo during the class is this new Boxed Bag Template.

boxed bag template image

It's not a must have item, but it sure is nice to have! You can rotary cut out the corners for the pattern instead of having to draw the corner and cut it out with scissors. It also allows you to cut out darts using a rotary cutter. It has a rounded corner for those bags that call for rounding corners. And it has a handy little grid for cutting zipper tabs. It also comes with a free pattern for a simple zippered bag.

If you'd like to sign up for the class, click the following link: Virtual Canvas Tote Bag Class If you would like me to, I can hold your class kit (the pattern and fabric) until after the class ends. Then you can add to your order if you'd like another fabric kit ($9.99) or if you want any of the tools I demo during the class, like the Boxed Bag Template, and save yourself a little shipping.

Again, the class is $20 (plus shipping if required). The class fee includes the class, the pattern and enough canvas fabric to make one bag. The live class will be Tuesday, June 27, 2023 from 11:30 am to 1:30 pm Mountain Time. But don't worry if you have to miss some or all of the class because it will be recorded. All students will receive a recording of the class (a few days after the class ends) that you can watch as many times as you need to. This style of class is not a sew along style class. You'll watch the class then actually sew the bag later. So you don't need your machine for the actual class. You'll have the recording that you can watch, rewatch and fast-forward/rewind while you are doing the actual sewing. This is a very beginner level class. Even if you've never made a bag before, you can do this one. I will show you EVERY step.


Friday, May 26, 2023

More Tourist Totes

 I'm having a great time with this new pattern! It's called Tourist Tote. For these next ones I shopped from my stash.

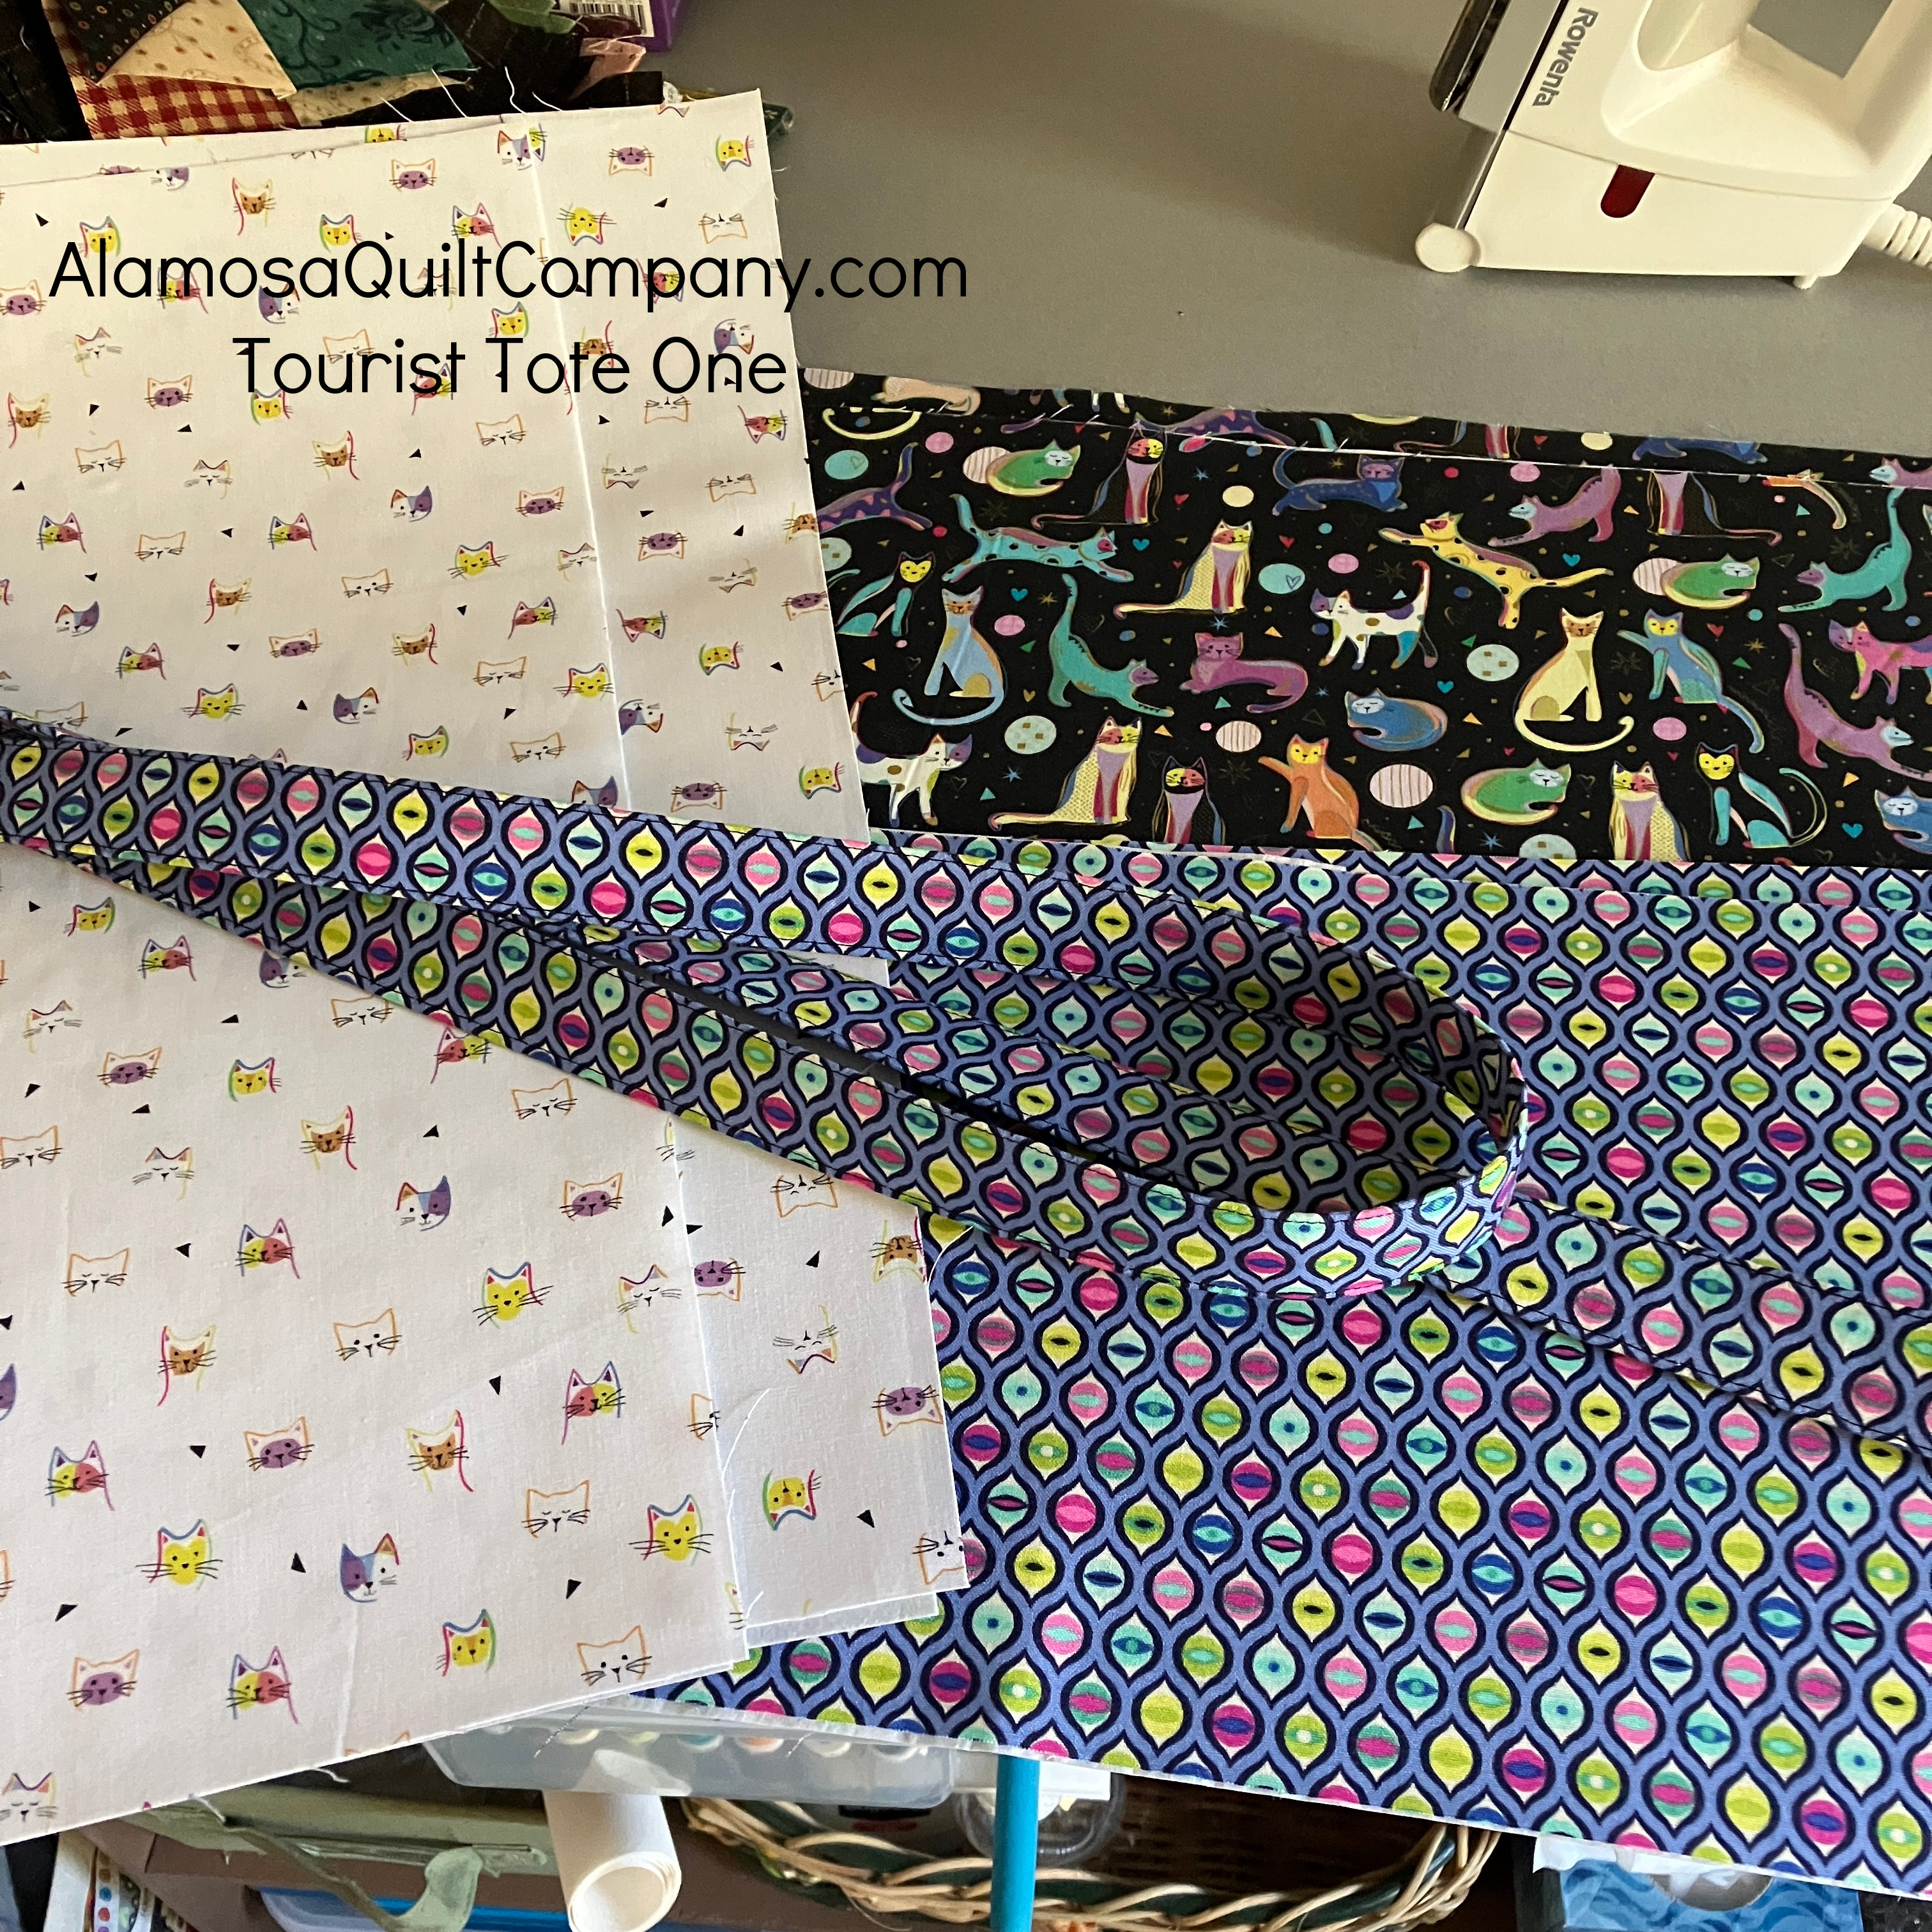
tourist tote one fabrics

tourist tote two fabrics

Here they are both completed and ready to use!

both completed tourist totes

And check out how green the grass in my backyard is already! We've had a lot of rain here recently.

My plan for these bags was one for me and one for my son. He turns 21 on Saturday! How did that happen?! He needed a new bag to carry his dinner and snacks with him to his new job. Right now he is working nights. Nothing is open around here overnight and he can't really leave anyway, so he needs to bring with him plenty of food to make it through his shift, which are 10-11 hours long. A little lunch box just doesn't cut it, but this bag is plenty roomy enough for him. He picked the right hand one. And my husband claimed the other one so I still don't have one of these bags even though I've made three!


Tuesday, May 23, 2023

Tourist Tote

 A customer told me about her favorite tote bag pattern recently. It's called the Tourist Tote. It looked like a good pattern and I had a good recommendation for the pattern, so I ordered several copies of it.

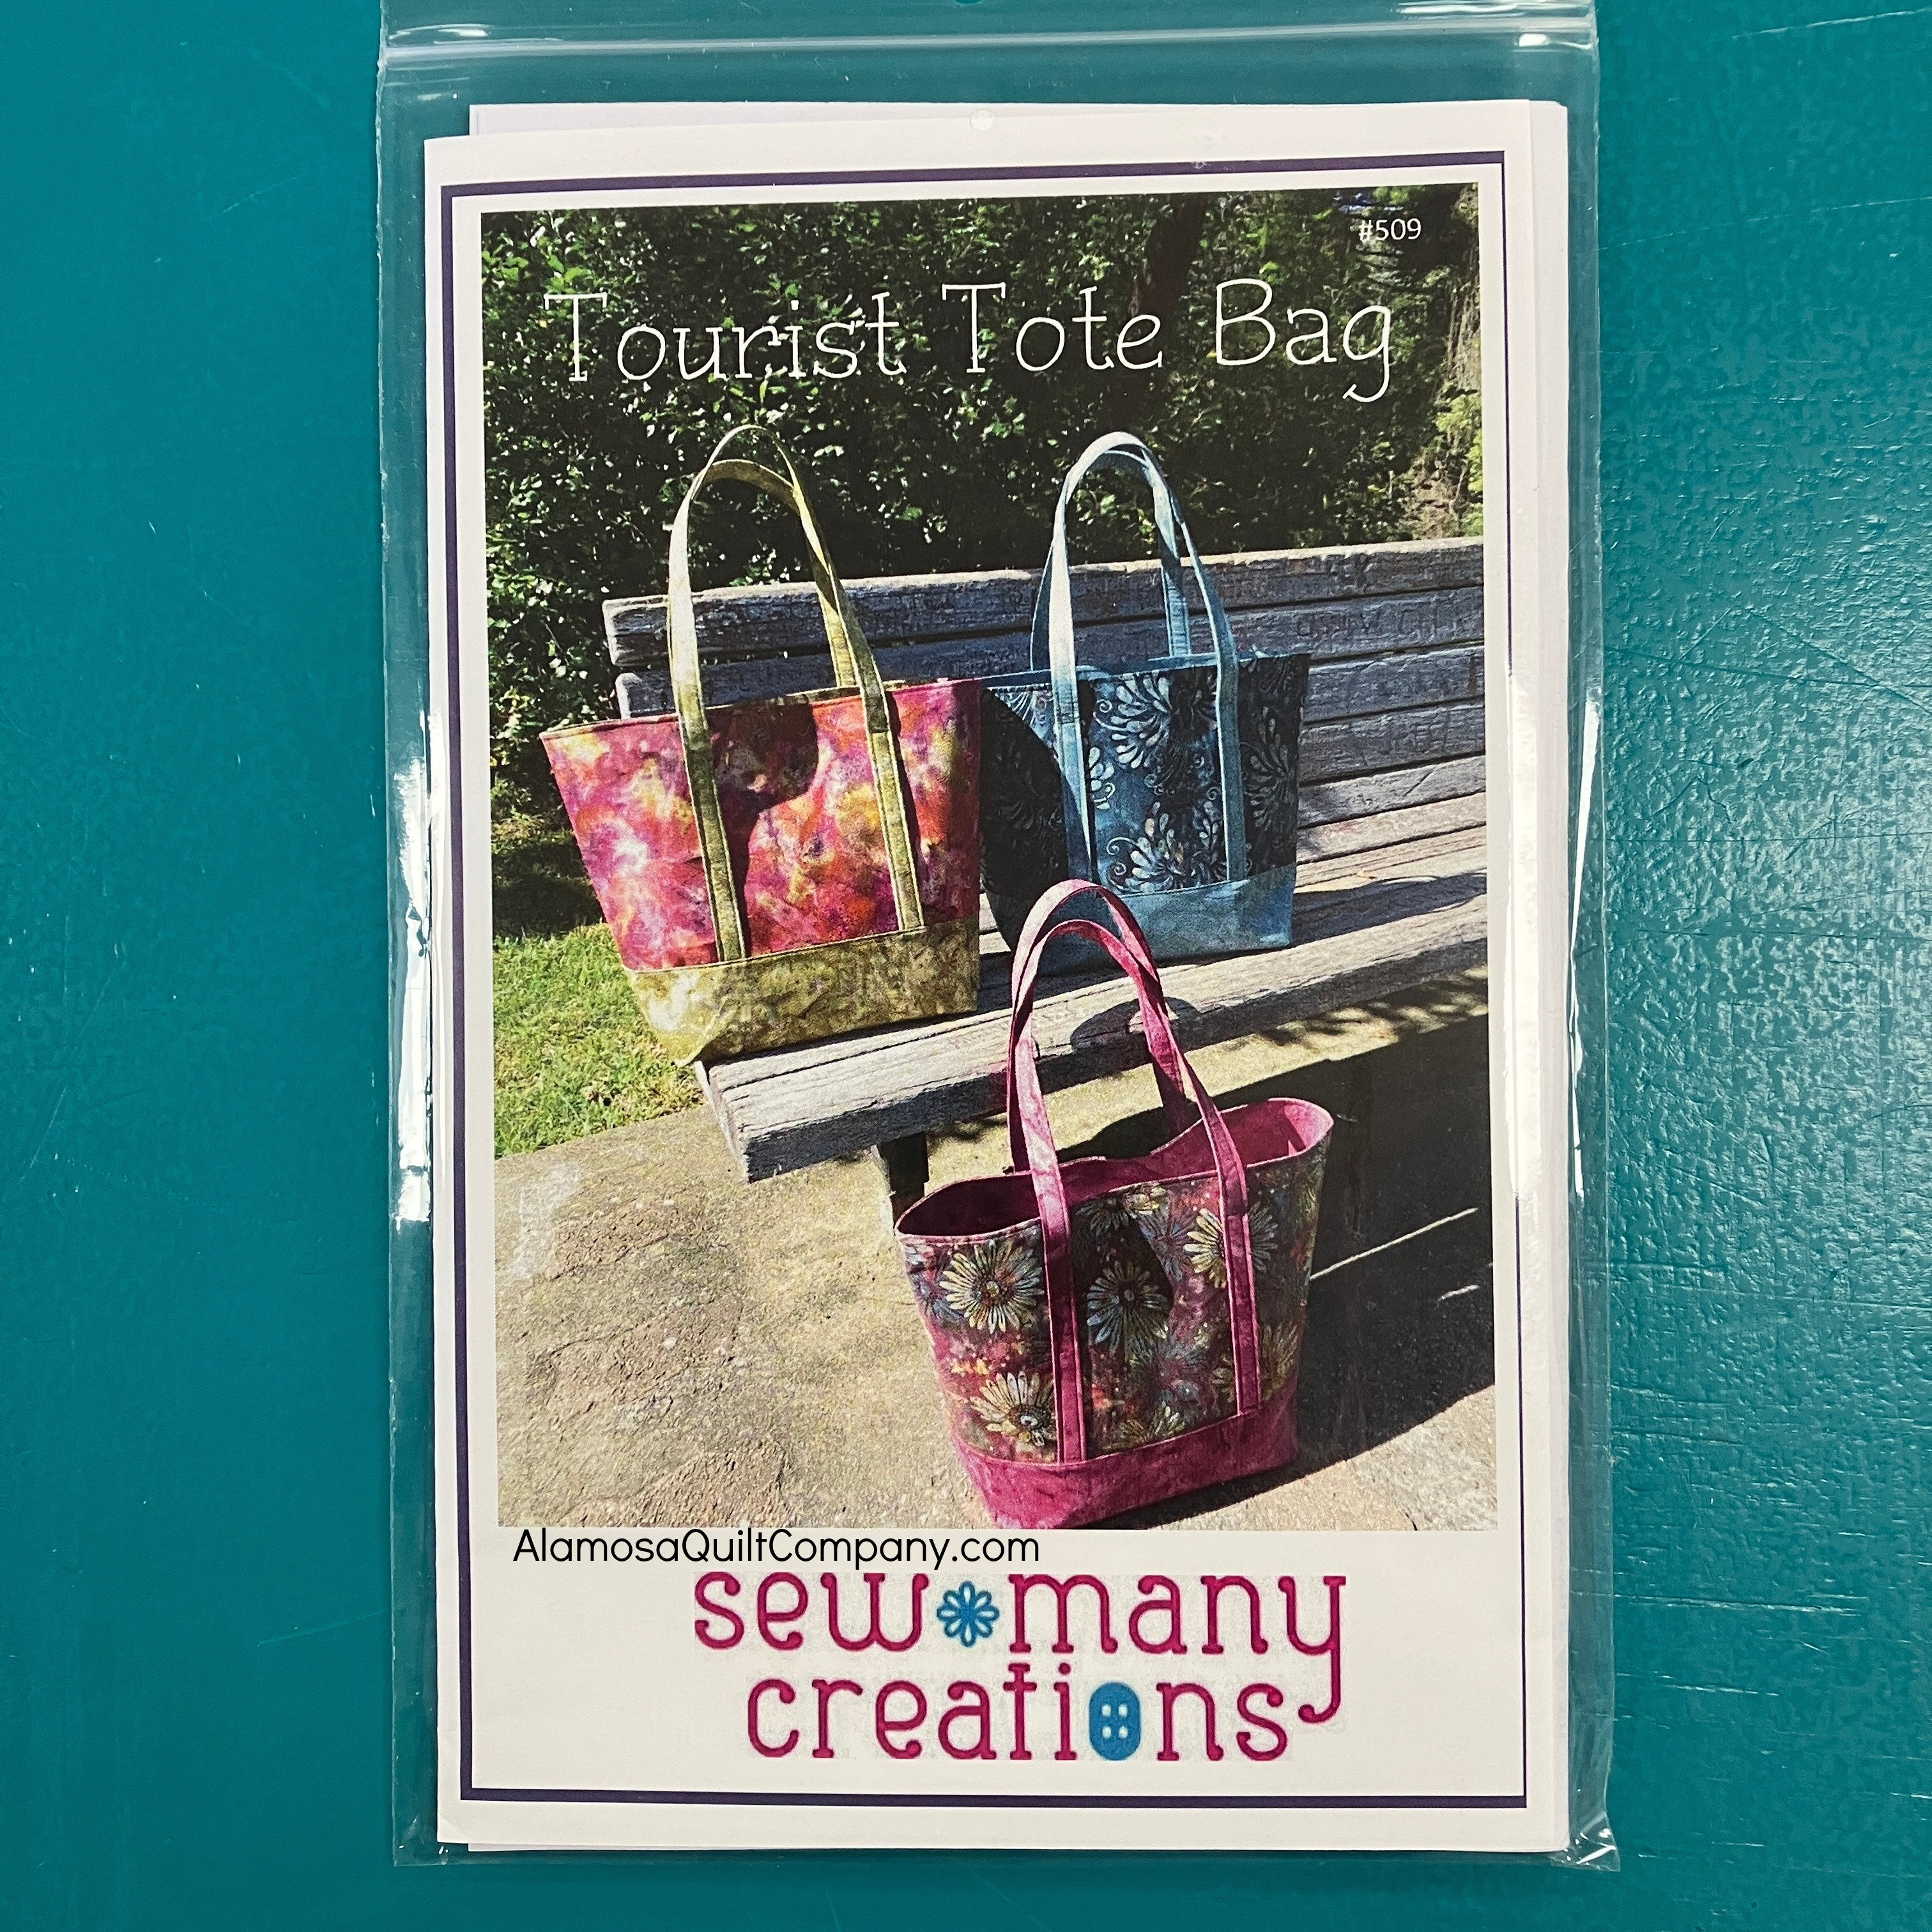
Tourist Tote front cover image

Then I had to make one!

Tourist Tote Shop sample using Serene Nature fabric collection

I used four prints from the new Serene Nature fabric collection that arrived recently. This is a very nice bag and a nice pattern. It's not a very complicated bag pattern but you could easily add some pockets (inside or outside between the handles). You could also add a magnetic snap or zipper to the top of the bag.

The top opening is 18 1/2" wide. At the bottom it's 12" wide. It's 12" tall and 7" deep. So it will hold a lot of stuff! It calls for Decor Bond interfacing on everything so it stands up nicely on it's own and is a good, sturdy bag.

The pattern and the individual fabrics are all available on my website.

Tourist Tote Pattern

Serene Nature Fabric Collection

However, if you'd like, I can make you a kit so that you can make a bag exactly like mine or you can let me know which fabrics you want me to use for your kit. The kit would include all of the fabrics for the bag plus the Decor Bond interfacing for $34.99. You'd need to purchase the pattern too, which is $10.99. I'd make you up a kit and then send you a direct link to purchase everything through my website with one click.


Monday, April 25, 2022

Canvas Tote Bag :: A Tutorial

 I am making up kits for these adorable canvas tote bags. I needed to refresh my tote bag pattern and thought I'd do a tutorial as well. So here goes:

The finished size is 17" wide by 14" tall by 5" deep. You'll need 1/2 yard of canvas fabric for the exterior and 3/4 yard of regular quilting cotton for the lining and handles. Or you can purchase one of our kits. We have several options: Basic Tote Nya-Nya, Basic Tote Midnight Geometric, Basic Tote Leaf Pods.    

Optional: 1 1/2 yards ShapeFlex interfacing. ShapeFlex is my favorite interfacing for bags. It is a Pellon product - SF101.

Let's get started:

From your canvas exterior fabric you need to cut two 17 1/2" by 17 1/2" squares. From your lining fabric you need to cut two 17 1/2" by 17 1/2" squares and two 4" by width of fabric strips for the handles. From the interfacing, if you are using it, cut two 17 1/2" by 17 1/2" squares and four 4" by width of interfacing strips. The interfacing is only about 20" wide.

Iron the interfacing squares to the wrong side of the lining squares. Iron two 4" by width of interfacing pieces to each 4" by width of fabric handle pieces. Just butt up the edges of the interfacing toward the middle of the handle piece and iron it down. Note: the interfacing will not cover the entire width of fabric strip, but will cover most of it. You can cut off the excess fabric not covered, or not.

canvas tote bag handle

Fold the handle in half lengthwise, wrong sides together, and press to create a 2" by width of fabric piece. Open this back out and fold each raw edge in towards the fold and press again. Then press in half along the original center fold to create a piece that is 1" by width of fabric. 

canvas tote handle

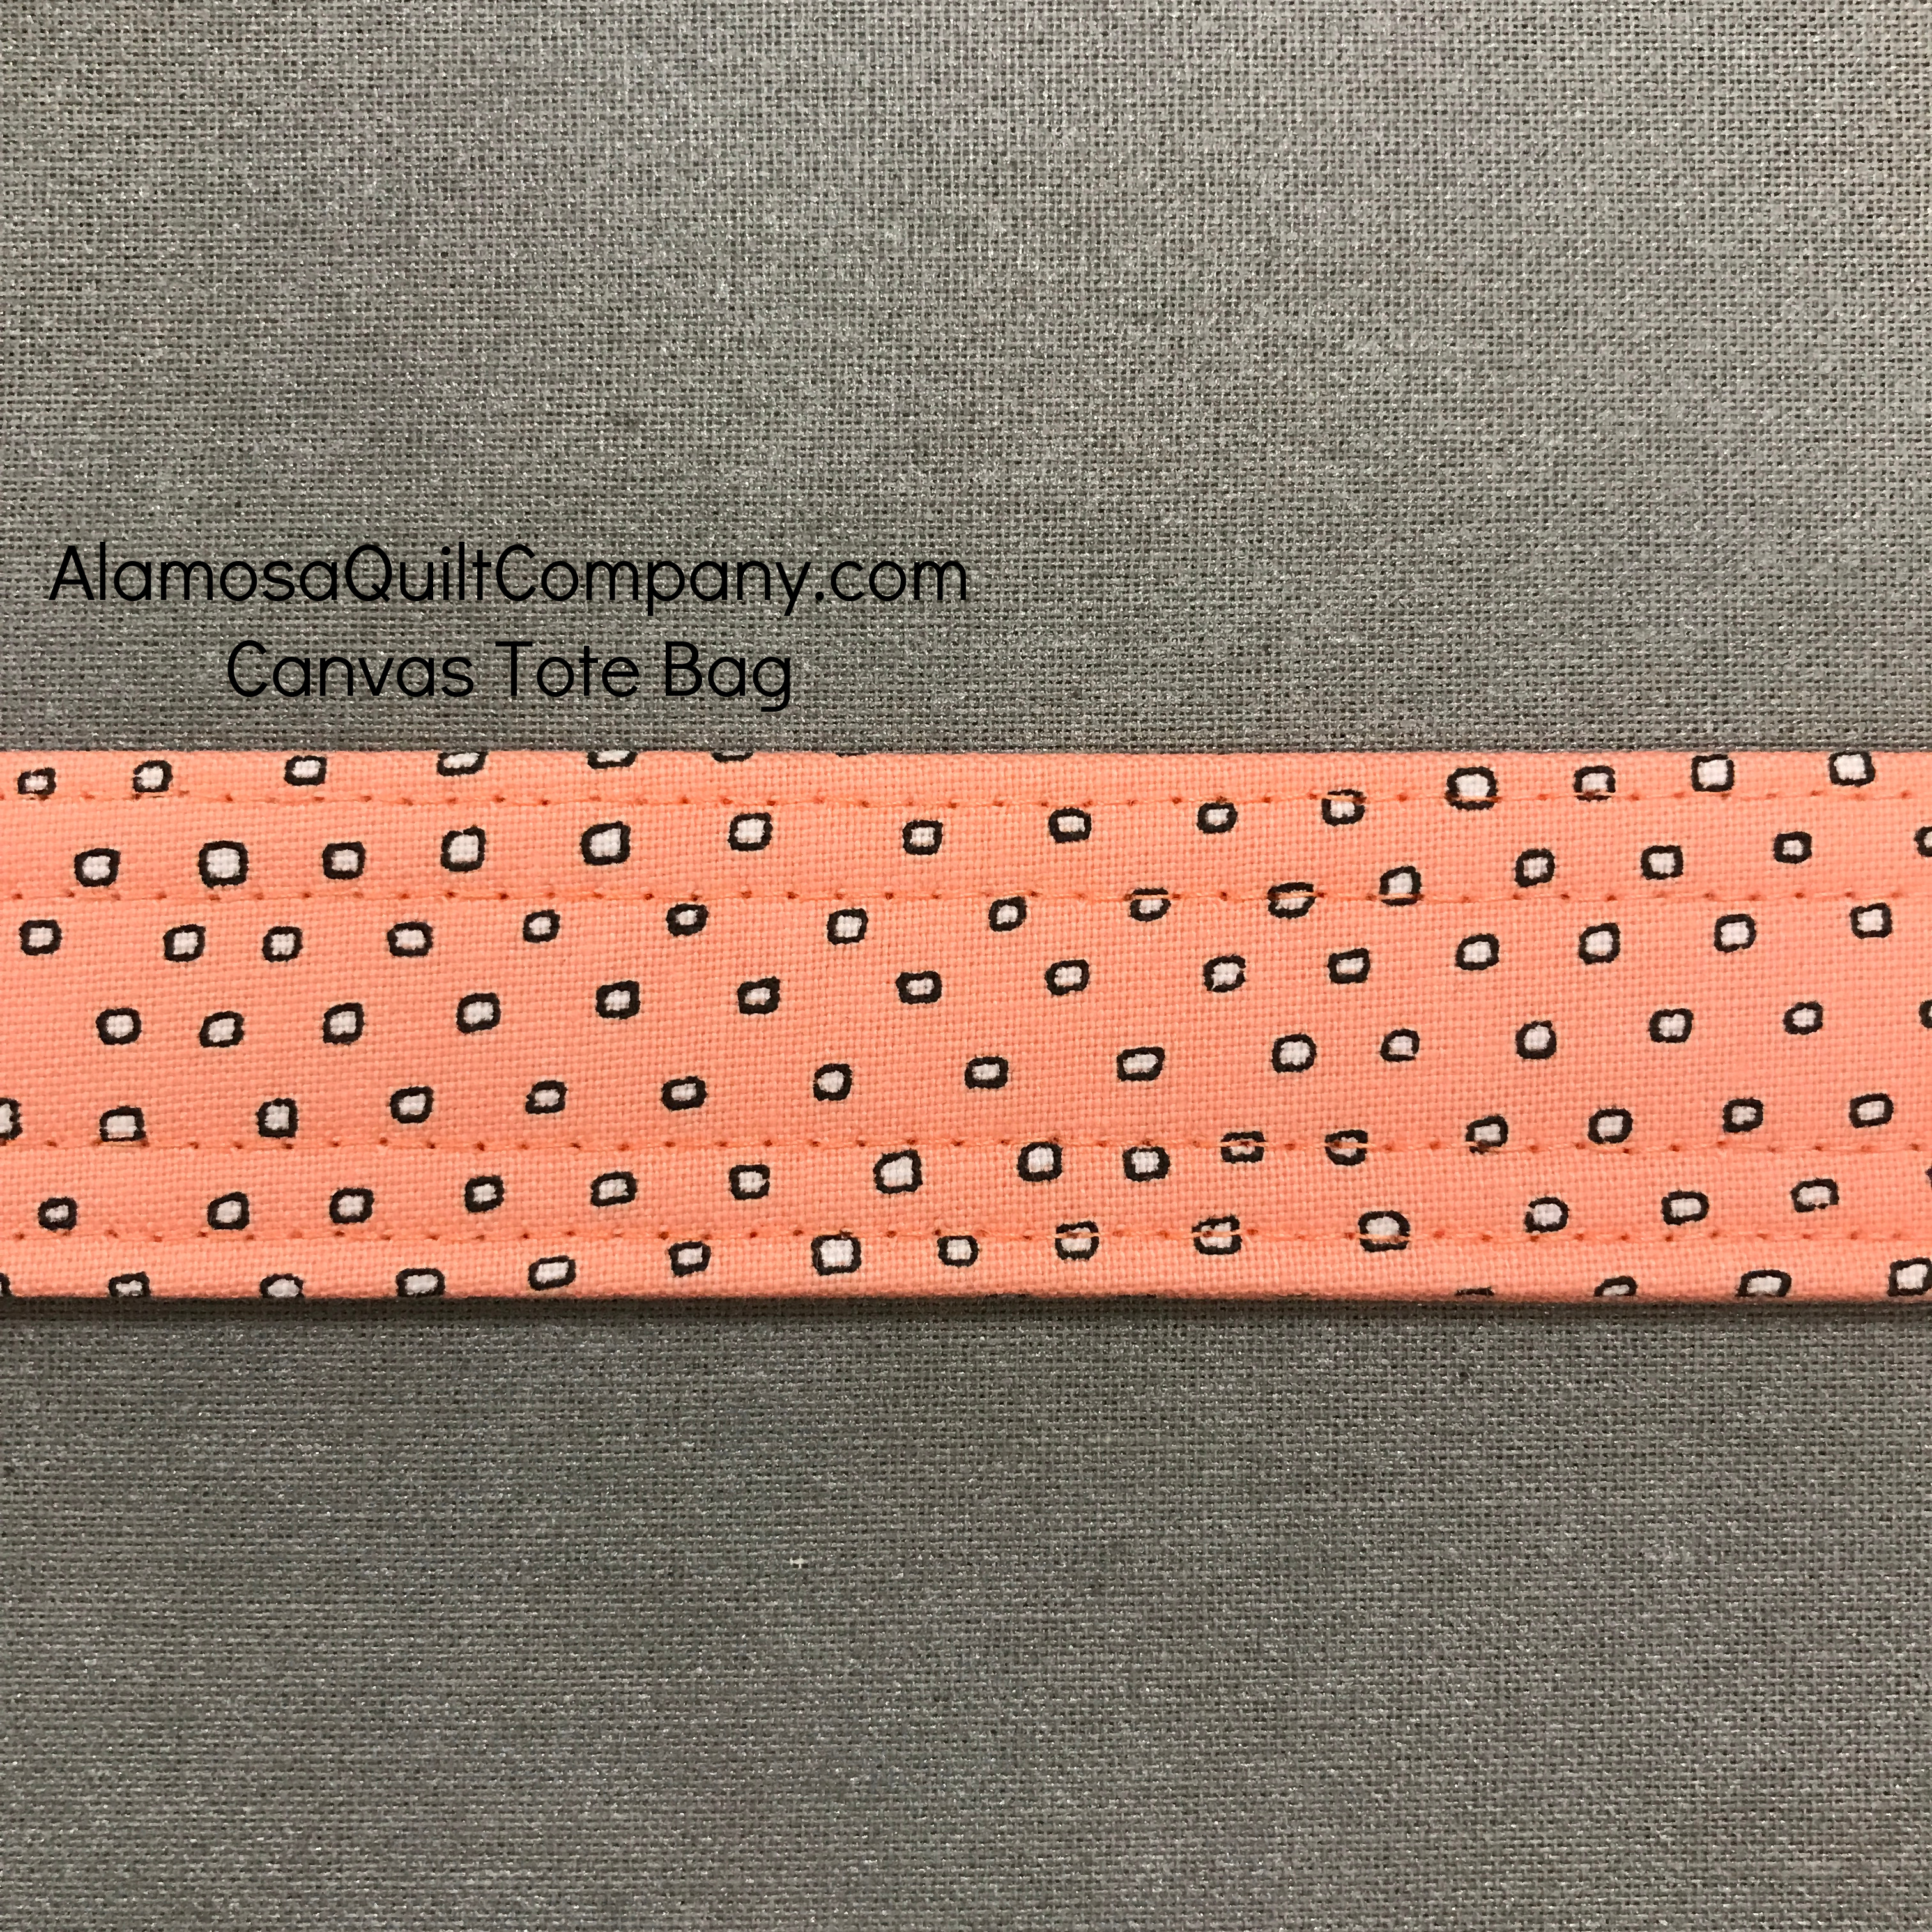
Topstitch on both long sides and repeat for the other handle. Optional: you can add a second row of topstitching about 1/4" away from the first stitching for a professional detail.


canvas tote handle

Now is the time to decide how long you want your handles. Short, over the wrist length handles are about 22" - 26" long. Over the shoulder handles are about 40" - 42" long. You can pin one handle to one exterior square and test the length of the handle. 

On one of the exterior bag pieces, find the center of the top edge and mark it with a pin. If your fabric is directional make sure the design is right side up! Pin each end of one handle 2 1/2" out from the center. I like to leave about 1/2" of the end of the handle sticking up from the top of the bag.

canvas tote attaching the handles

Once the bag is completed this longer bit will make the handles sturdier because it will get sewn over several times. Baste the handles in place by sewing a 1/8" seam allowance. Repeat with the other exterior square and handle.

canvas tote handles basted

Draw a 2 1/2" square on the wrong side on both bottom corners of the fabric on one exterior square and one lining square.

canvas tote corner markings

You are going to cut on this line so use whatever marking utensil you have. It doesn't matter if it is permanent because you will cut it off.

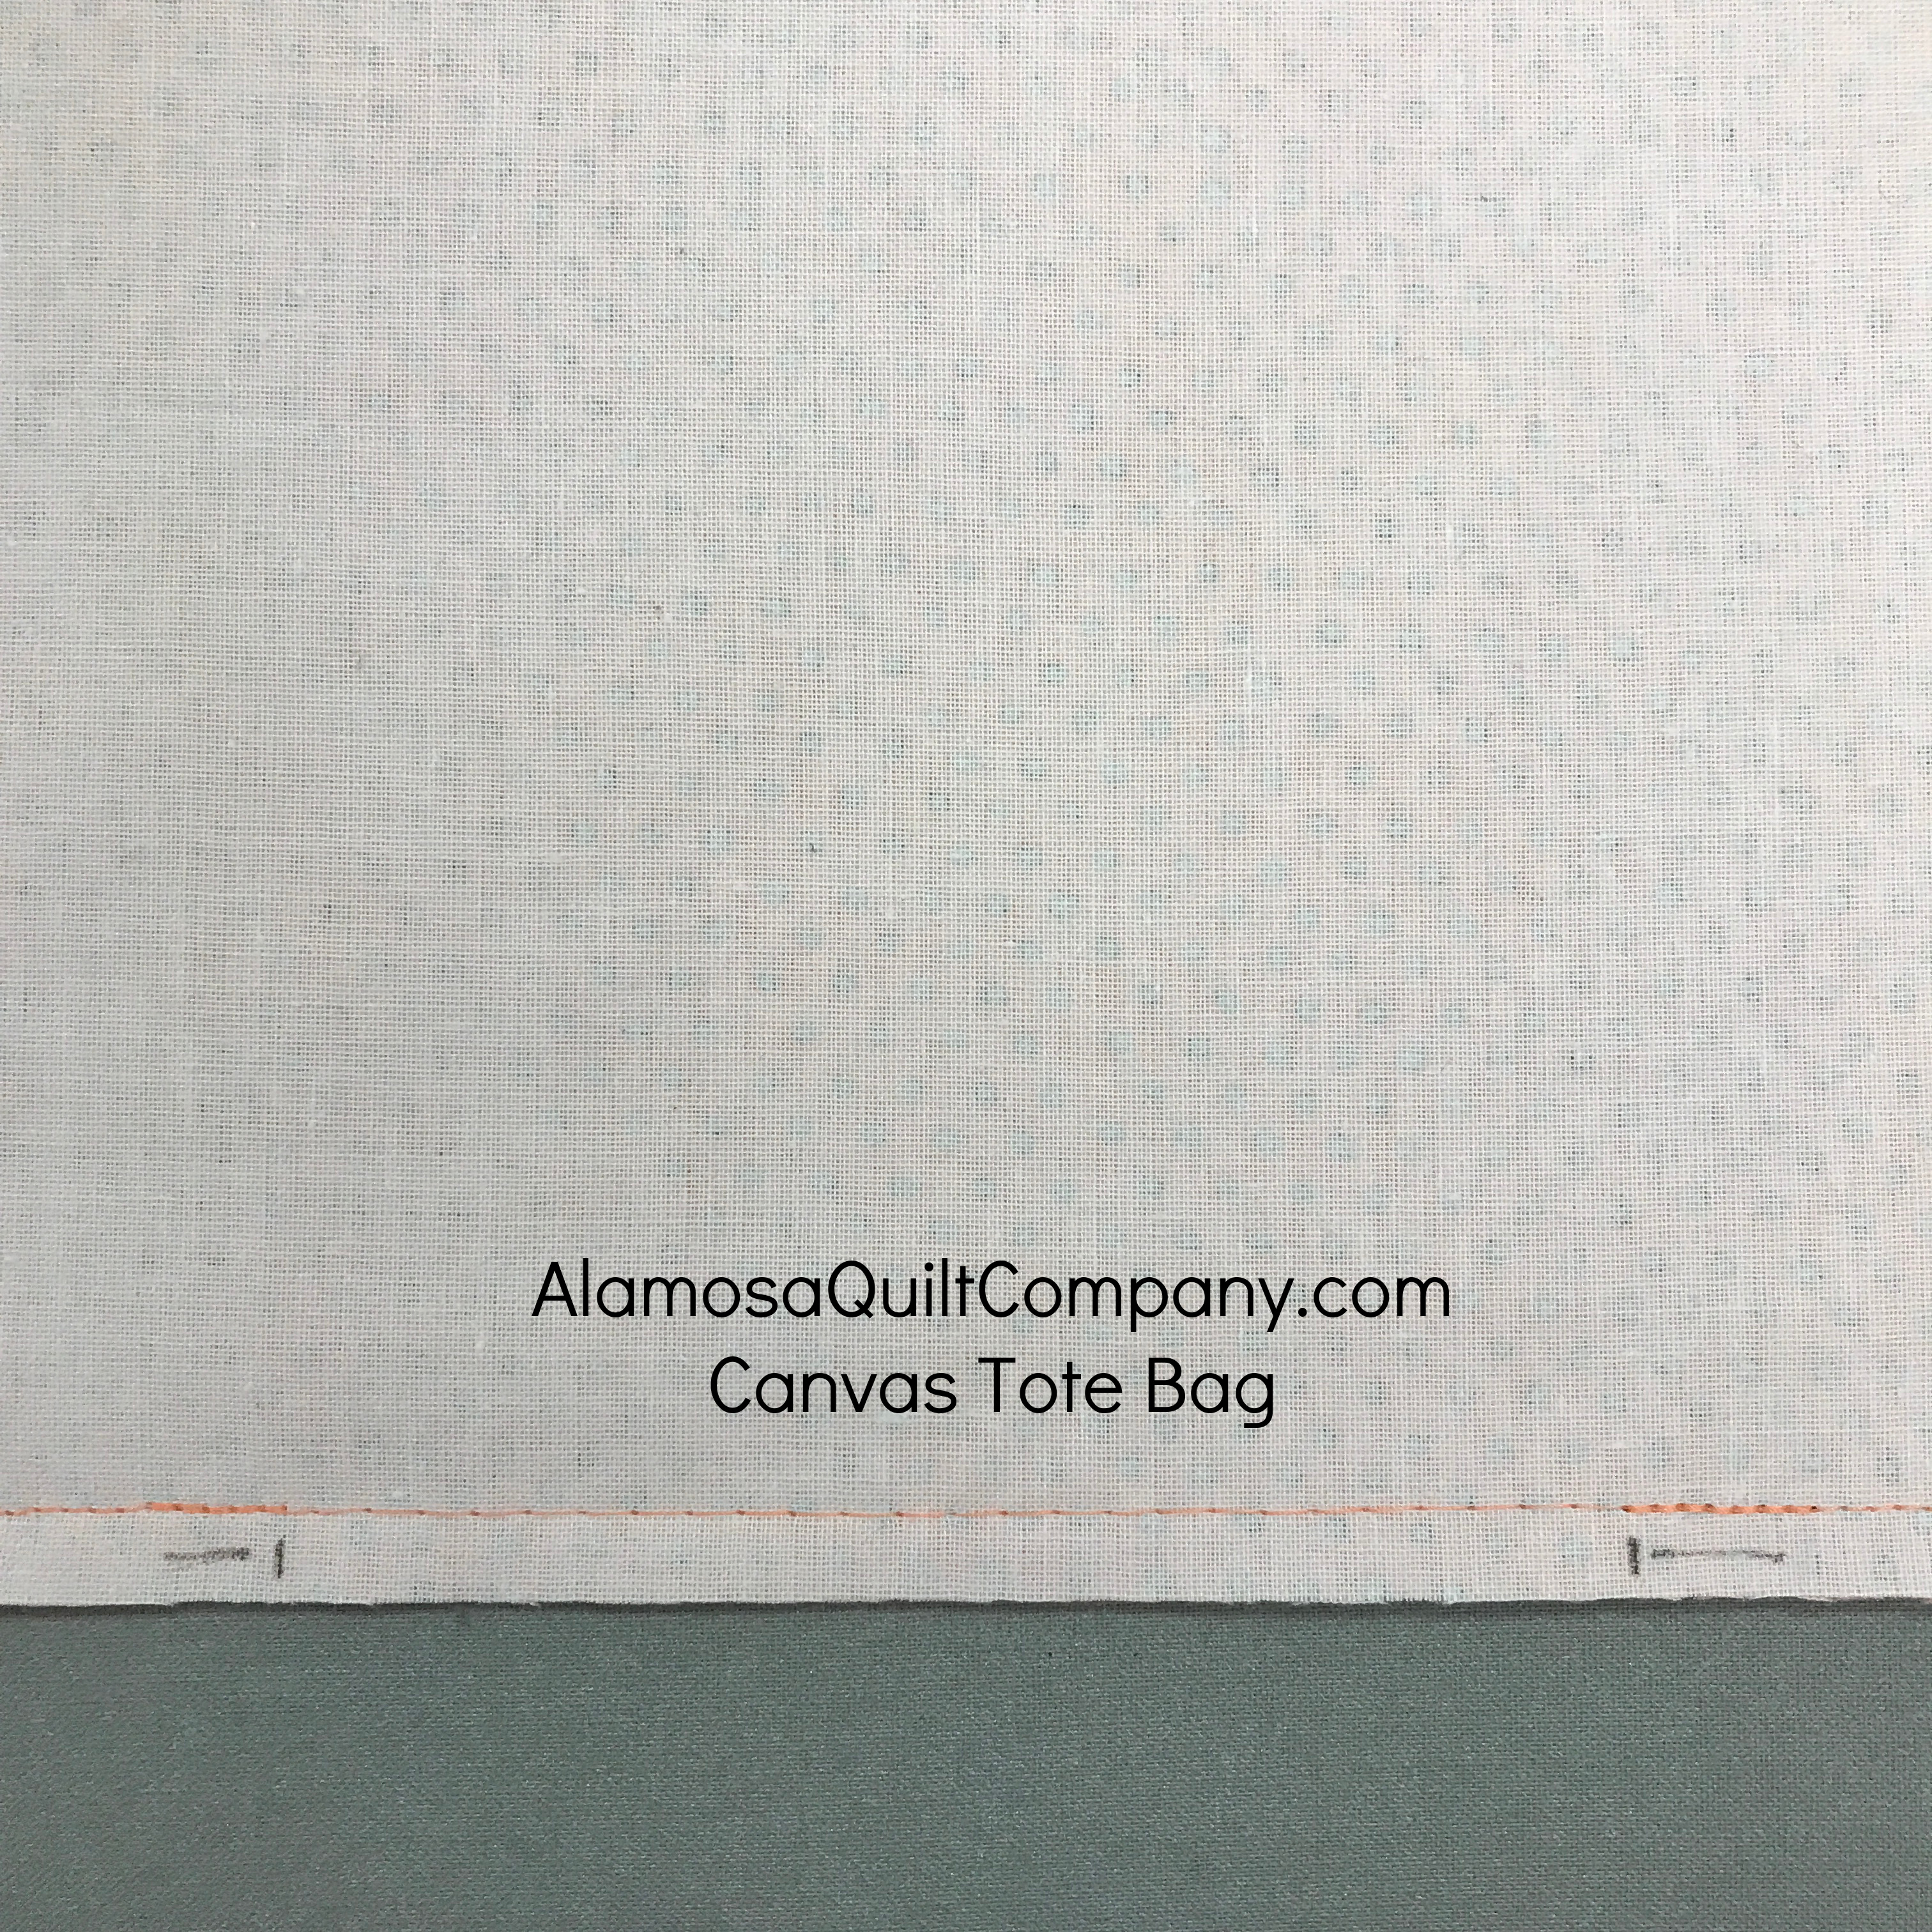
Lay your two exterior bag pieces with handles attached right sides together. Sew the two side seams and the bottom seam. Leave the top open. Back stitch at the start and end (the two top edges) AND back stitch over the lines you drew at the bottom corners. Photo above shows my back stitching over the corner lines. This is important to do so that these seams don't pop open when you cut those corners off.

Repeat with your two lining squares. IMPORTANT: You need to leave a 3" opening in the bottom seam. Back stitch at all the places you did on the exterior pieces PLUS at the two ends of the opening you leave on the bottom seam.

canvas tote bottom opening basted

PRO TIP: lengthen your stitch length when you get the point where you need to leave the opening in the bottom seam. Instead of leaving an opening, sew the seam with the longest stitch length your machine will do. Press the bottom seam open. Then remove the long stitches. This will leave a nice folded edge on the bottom of your bag that you can use later after you have turned the bag right side out and you need to stitch up the hole.

canvas tote bottom seam

canvas tote bottom seam

Cut out the corners through all layers on each piece. Be careful that you do not cut your handles!

canvas tote corners cut

Pinch the corners together lining up the side seam and the bottom seam.

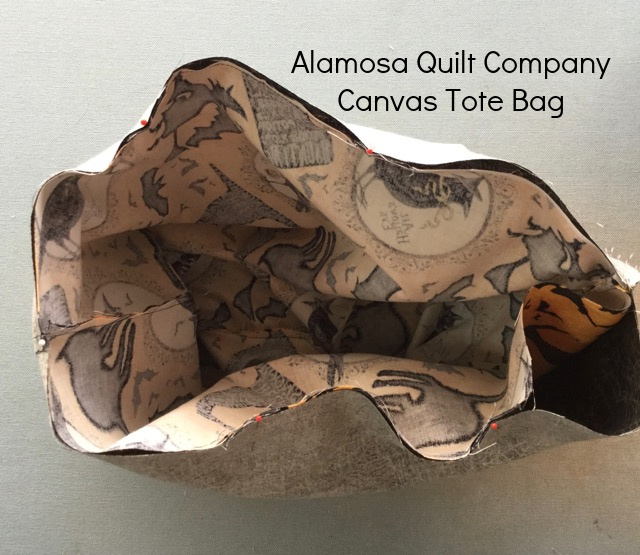
canvas tote boxing the corners

canvas tote boxing the corners

canvas tote boxing the corners

Sew the seam to box the corners, back stitching at the beginning and end of each seam.


canvas tote boxing the corners

Repeat for all the bottom corners on both the lining and the exterior.

Turn the exterior bag piece right side out. Place the exterior bag INSIDE the lining bag, aligning the side seams and the top edge. Pin or clip the top edges in place. (I forgot to take a picture of this step! Sorry, that's what happens when I make things at the shop and get interrupted in the process.) Here is a photo of this step from a previous bag.

canvas tote pinning top

Sew around the top edge. Turn the bag right side out through the opening left in the bottom seam of the lining. 

canvas tote turning the bag

Topstitch the opening in the bottom seam of the lining closed. Notice in the photo below the nice folded seam allowance. 
This is the result of using my Pro Tip from the step where you sew the lining pieces together.

canvas tote closing hole in bottom

canvas tote closing hole in bottom

Topstitch around the top edge of the bag so that the lining doesn't shift when using the bag. I stitched around the top edge twice to repeat the double topstitch sewing on the handles. Once is sufficient though.

canvas tote finished

Enjoy your new Canvas Tote Bag! If you would like a kit for one of these you can find them on our website, Alamosa Quilt Company in the Kits Section. Or scroll back up to the top where I have links to each of the three kits we currently have for these. We are making more with other canvas fabrics and those will be added to the Kits Section when they are ready.

Shown is the Nya-Nya kit. Note: "Nya-Nya" is what a cat says in Japanese. It's their version of "meow-meow".


Thursday, October 19, 2017

Market Tote

I made this last week as a store sample.


The pattern has been around for a while but it's a new one for in the shop. I only ordered black mesh to start with to try out the pattern. I like the pattern so as the budget allows I will order the mesh in more colors. This was easy to make and it stands up nicely on its own thanks to the sturdy vinyl mesh. I wish I had had black cotton webbing when making this but we were out. The natural looks good with the fabrics I used, but I still wish it were black. We have black back in stock but I'm not changing them out now!


Tuesday, June 20, 2017

Just Because

I've had the materials for this bag sitting next to my sewing machine for several weeks. Last weekend I decided to set aside the shop sewing I needed to do and make something for myself. This was handy and quick.


This Moda Man comic print canvas is too funny! It was one of those things that when I saw it I knew I had to have some for my shop. For the lining I used the light blue polka dot print that is also on the straps. 

It's just a simple tote bag. No pockets, zippers, magnetic snaps or anything fancy. I used the same method that I show in my trick or treat bag tutorial. For this one I started with 18" squares and cut a 4" corner out to box the bottom. For the handles I used cotton webbing (two pieces that are 24" long) but I also cut a strip of the lining fabric to dress them up. I stitched the fabric strips to the cotton webbing leaving about an 1/8" of the cotton webbing showing on either side of the fabric strip.

It holds a lot of stuff and has become my main bag for hauling stuff between home and the shop each day.


Tuesday, May 30, 2017

Show & Tell Bag

I've been testing bag patterns recently. This one is called the Show & Tell bag.


It's a huge bag with an outer pocket on each side. The pattern calls for using leather on the bottom but I used some of the new cork fabric I recently received in my shop. It worked great for this project!


I actually made this bag a few weeks ago and have been using it to haul of my Sue Spargo BOM stuff around until I can get my Allium bag finished.

While I really like the finished bag, I'm not as thrilled with the pattern. The bag is fairly simple and straight forward to make, but the pattern leaves out quite a few things. For example, at one point the pattern tells you to put two pieces right sides together then goes on to the next step without telling you to sew the seam. I caught this right away and sewed the seam before proceeding, but I think a beginner would get confused and possibly discouraged. 

So I don't know if I will order this pattern to sell in my shop or not. If I do, I'll need to make sure all of my staff are aware of the shortcomings of this pattern so we can warn folks before they buy it.


Tuesday, May 23, 2017

Allium Bag :: Progress

Well that didn't take very long! I have finished the embroidery on the front of my Allium bag and now I'm ready to put it together.


I love the before and after embroidery on these projects!


There is some velcro that goes inside this bag at the bottom to hold the zipper pouches in place. I've ordered it but at the time of writing this it isn't here. I haven't read through the assembly instructions yet so I don't know how far I can get with the bag assembly before I need to add the velcro. I'm anxious to get it finished so I can start using it!


Tuesday, May 16, 2017

Mother's Day Sewing

I made myself a new purse over the weekend.


This is my Nancy Tote pattern with a few adjustments. The bottom is cork! It's a new product which I ordered months ago but just recently arrived at the shop. I've been anxious to try it out. It is very easy to use! I tested it with the iron. You can iron it but it doesn't seem to do much. I had best success with firmly finger pressing and then stitching the seam allowance down with topstitching. 

I also tried out another new product.


I found these metal "handmade" labels to order for the shop and couldn't resist purchasing a few for myself to use. I think it adds a nice professional touch.