I am making up kits for these adorable canvas tote bags. I needed to refresh my tote bag pattern and thought I'd do a tutorial as well. So here goes:
The finished size is 17" wide by 14" tall by 5" deep. You'll need 1/2 yard of canvas fabric for the exterior and 3/4 yard of regular quilting cotton for the lining and handles. Or you can purchase one of our kits. We have several options: Basic Tote Nya-Nya, Basic Tote Midnight Geometric, Basic Tote Leaf Pods.
Optional: 1 1/2 yards ShapeFlex interfacing. ShapeFlex is my favorite interfacing for bags. It is a Pellon product - SF101.
Let's get started:
From your canvas exterior fabric you need to cut two 17 1/2" by 17 1/2" squares. From your lining fabric you need to cut two 17 1/2" by 17 1/2" squares and two 4" by width of fabric strips for the handles. From the interfacing, if you are using it, cut two 17 1/2" by 17 1/2" squares and four 4" by width of interfacing strips. The interfacing is only about 20" wide.
Iron the interfacing squares to the wrong side of the lining squares. Iron two 4" by width of interfacing pieces to each 4" by width of fabric handle pieces. Just butt up the edges of the interfacing toward the middle of the handle piece and iron it down. Note: the interfacing will not cover the entire width of fabric strip, but will cover most of it. You can cut off the excess fabric not covered, or not.
Fold the handle in half lengthwise, wrong sides together, and press to create a 2" by width of fabric piece. Open this back out and fold each raw edge in towards the fold and press again. Then press in half along the original center fold to create a piece that is 1" by width of fabric.
Topstitch on both long sides and repeat for the other handle. Optional: you can add a second row of topstitching about 1/4" away from the first stitching for a professional detail.
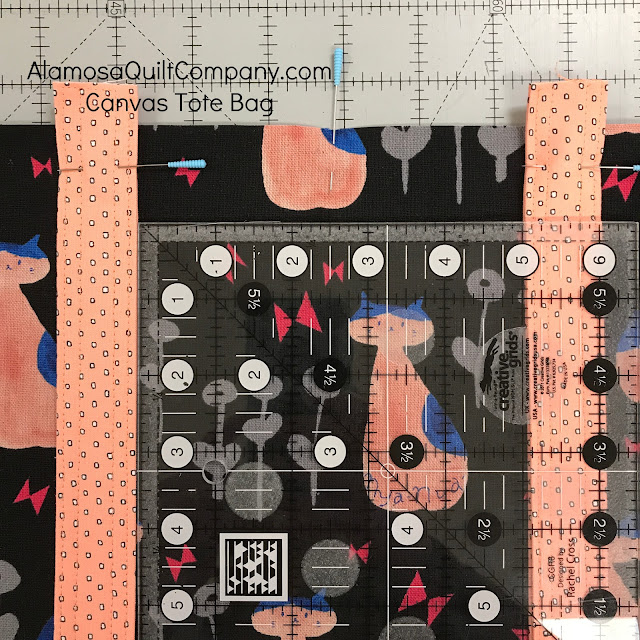
Now is the time to decide how long you want your handles. Short, over the wrist length handles are about 22" - 26" long. Over the shoulder handles are about 40" - 42" long. You can pin one handle to one exterior square and test the length of the handle.
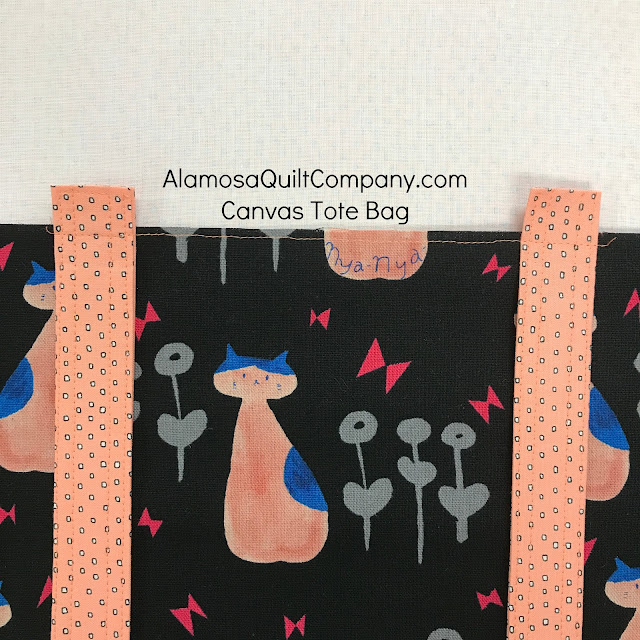
Once the bag is completed this longer bit will make the handles sturdier because it will get sewn over several times. Baste the handles in place by sewing a 1/8" seam allowance. Repeat with the other exterior square and handle.
Draw a 2 1/2" square on the wrong side on both bottom corners of the fabric on one exterior square and one lining square.
You are going to cut on this line so use whatever marking utensil you have. It doesn't matter if it is permanent because you will cut it off.
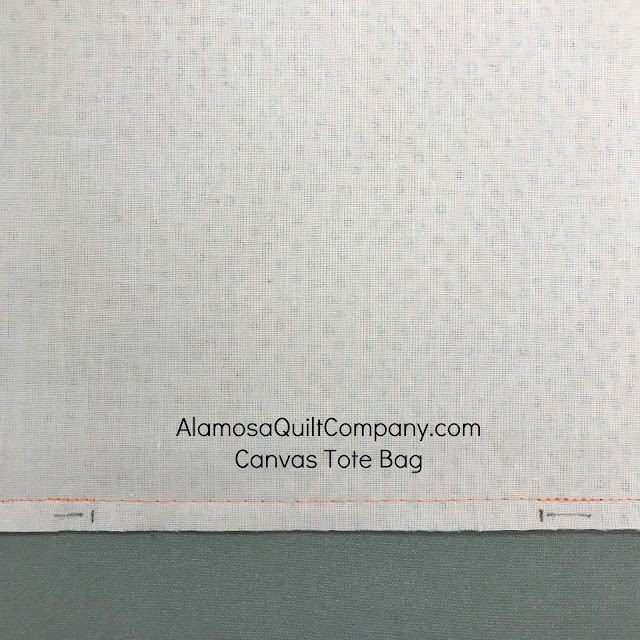
Lay your two exterior bag pieces with handles attached right sides together. Sew the two side seams and the bottom seam. Leave the top open. Back stitch at the start and end (the two top edges) AND back stitch over the lines you drew at the bottom corners. Photo above shows my back stitching over the corner lines. This is important to do so that these seams don't pop open when you cut those corners off.
Repeat with your two lining squares. IMPORTANT: You need to leave a 3" opening in the bottom seam. Back stitch at all the places you did on the exterior pieces PLUS at the two ends of the opening you leave on the bottom seam.
PRO TIP: lengthen your stitch length when you get the point where you need to leave the opening in the bottom seam. Instead of leaving an opening, sew the seam with the longest stitch length your machine will do. Press the bottom seam open. Then remove the long stitches. This will leave a nice folded edge on the bottom of your bag that you can use later after you have turned the bag right side out and you need to stitch up the hole.
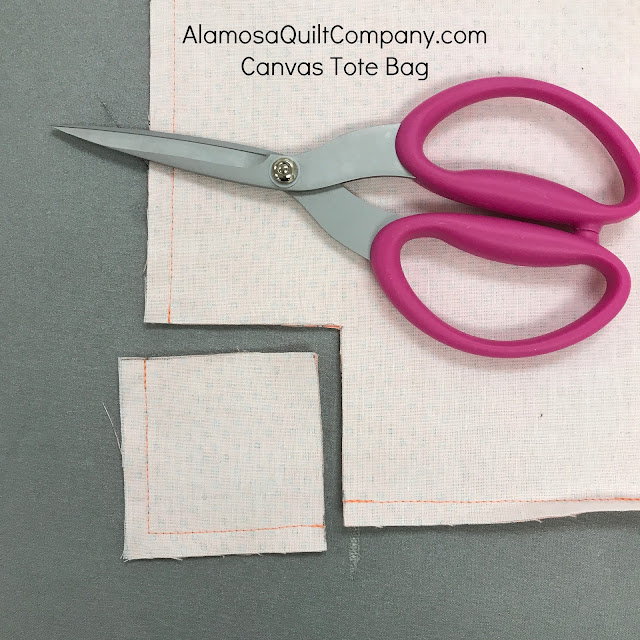
Cut out the corners through all layers on each piece. Be careful that you do not cut your handles!
Pinch the corners together lining up the side seam and the bottom seam.
Sew the seam to box the corners, back stitching at the beginning and end of each seam.
Repeat for all the bottom corners on both the lining and the exterior.
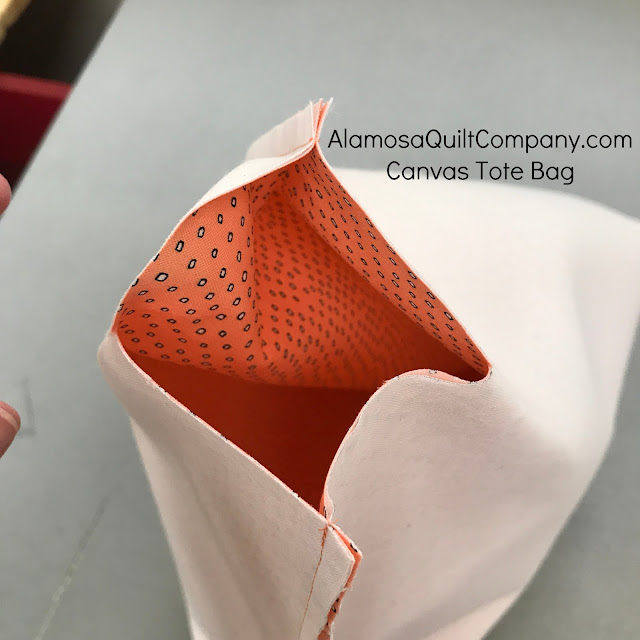
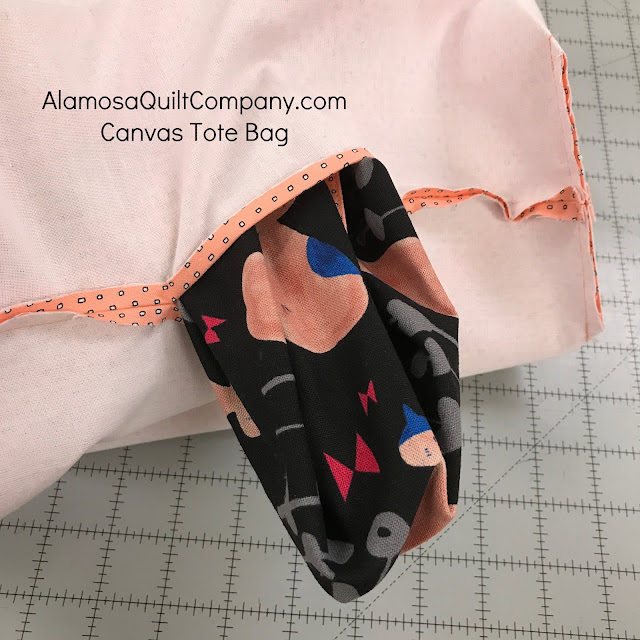
Turn the exterior bag piece right side out. Place the exterior bag INSIDE the lining bag, aligning the side seams and the top edge. Pin or clip the top edges in place. (I forgot to take a picture of this step! Sorry, that's what happens when I make things at the shop and get interrupted in the process.) Here is a photo of this step from a previous bag.
Sew around the top edge. Turn the bag right side out through the opening left in the bottom seam of the lining.
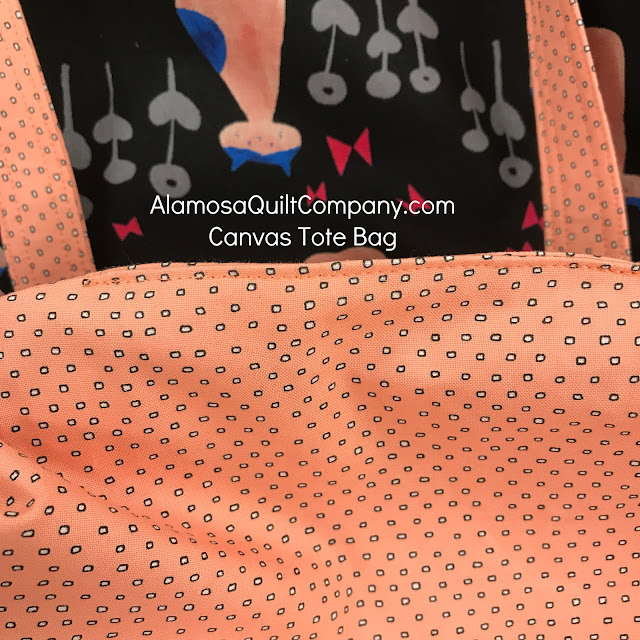
Topstitch the opening in the bottom seam of the lining closed. Notice in the photo below the nice folded seam allowance. This is the result of using my Pro Tip from the step where you sew the lining pieces together.
Topstitch around the top edge of the bag so that the lining doesn't shift when using the bag. I stitched around the top edge twice to repeat the double topstitch sewing on the handles. Once is sufficient though.
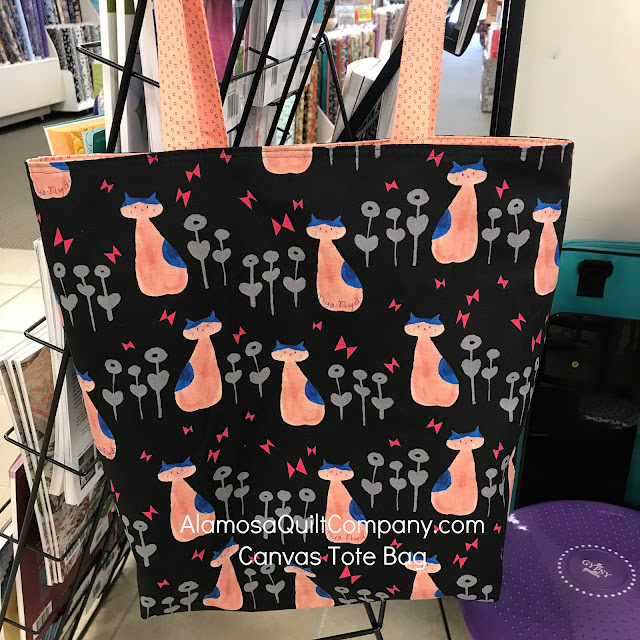
Enjoy your new Canvas Tote Bag! If you would like a kit for one of these you can find them on our website, Alamosa Quilt Company in the Kits Section. Or scroll back up to the top where I have links to each of the three kits we currently have for these. We are making more with other canvas fabrics and those will be added to the Kits Section when they are ready.
Shown is the Nya-Nya kit. Note: "Nya-Nya" is what a cat says in Japanese. It's their version of "meow-meow".









1 comment:
great tutorial!!!
Post a Comment