Friday, December 31, 2021

Crimson Tweed Update

 With my shop closed this week and inventory done I have a little bit of time for myself. I am working on Crimson Tweed - making progress at finishing the borders.

Crimson Tweed progress

The long green vine is just basted on for now. I want to be able to tuck the ends of the holly leaves and stems underneath it so I will applique the vine down last. The holly leaves are sewn down now. The two narrow stems are just set in place for the moment. These will be the next things I sew down. They will be stems with small red berries eventually. The pattern calls for 8 of these stems with berries. We'll see how many I can fit on my version.

Happy New Year!


Tuesday, December 28, 2021

Jelly Roll Tree Skirt

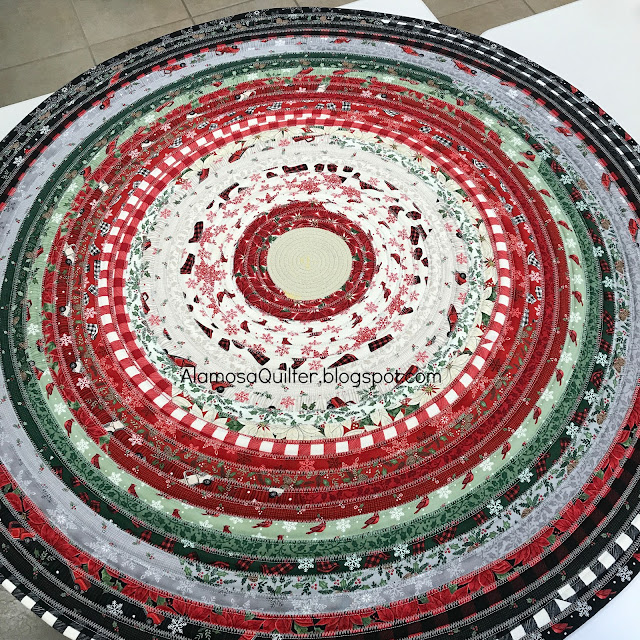
 I've had this pattern in my shop for some time. It's called Strippy Tree Skirt. I decided on Wednesday before Christmas that I wanted to make one for myself so I did!

Strippy Tree Skirt 1

The pattern explains a different method for starting than what I decided to do. I used one of my rope coasters instead. Notice the coaster in the center of the tree skirt in the photo below.

Strippy Tree Skirt 2

I just sewed right to it! Then I ripped it out before cutting the slit and adding binding to the cut edge. It worked great! No coasters were harmed in making it either.

This is why I wanted a new tree skirt.

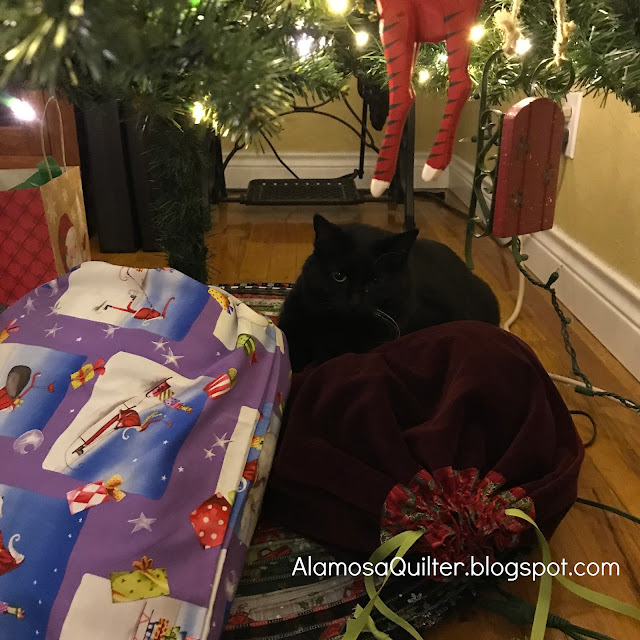
Ms. Boo on Strippy Tree Skirt

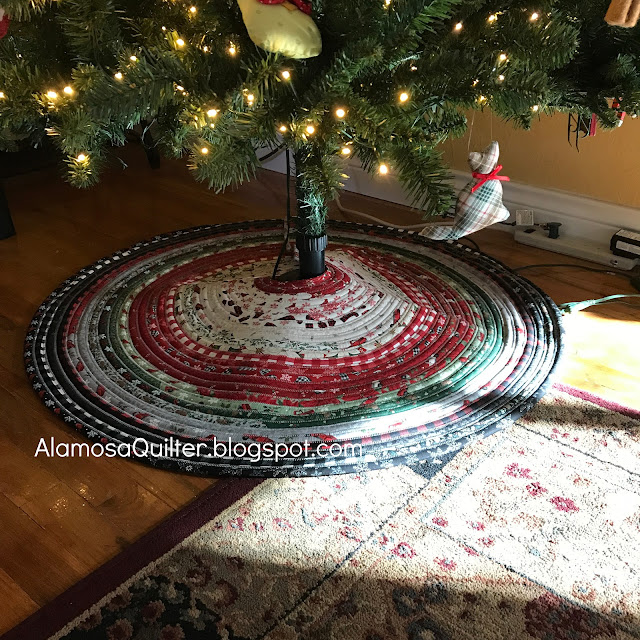
Ms. Spooky Boo just will not leave the tree skirt alone! The first year I was married I made a counted cross-stitch tree skirt that I love. But Ms. Boo loves it too and she keeps picking at one of the elements in the design. I am afraid that she is going to mess up the design so the last few years I only pull out the tree skirt on Christmas Eve before we put the presents on top. Now I have one that I can put out with the tree. 

Strippy Tree Skirt 4

This one is all machine stitched so if she pulls out any stitching I can easily fix it.

If you have made any of the other jelly roll rug patterns this one is similar. The pattern is well written with photos and it was fun to make. 

The jelly roll I used is from the Home Sweet Holidays collection by Deb Strain for Moda.


Wednesday, December 22, 2021

New Oven Mitts

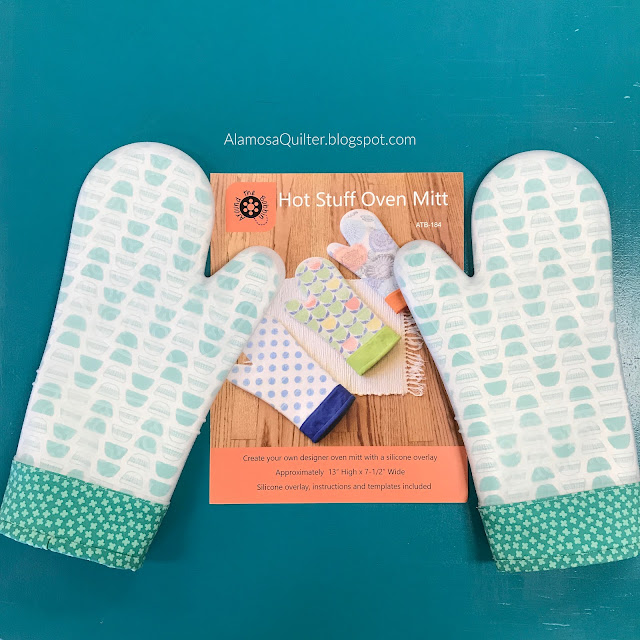
 I have needed new oven mitts at my house for some time. When I saw this pattern that comes with a silicon shell I ordered the pattern (which comes with one silicon overlay) and a single silicon overlay (with no pattern) so that I could make a set.

oven mitts
The bowl fabric is showing through the silicon overlay. The silicon is clear which makes it hard to photograph. The silicon has a raised pattern on it to help with gripping stuff.

When they first arrived a few weeks ago I opened up the pattern and started to read but there were too many words for me to sift through on that day. So I set them aside. Last weekend I had a little time and wanted to sew something for myself so I pulled it out again. I realized that there really aren't that many words, the pattern writer has included several tips for various ways to sew these up. Once I figured out what the actual directions were and what were the tips, I realized that these are really easy to make! And the tips and photographs/diagrams were very helpful!

You do sew through the silicon. The cuff at the bottom is attached directly to the silicon, but my little Bernina didn't have any trouble sewing through the silicon. The silicon is always sandwiched between fabric so it didn't stick to the machine bed at all.

The only negative for these is that they are a little long (go down your arm quite a ways). For me this isn't a problem because I have thin, stick arms, but my husband couldn't get them on all the way because his forearms are bigger than mine. However, there are other sizes of these as well as potholders/trivet. I have ordered the other styles and will make them up to see if they have a more universal fit before committing to purchasing several for my shop.

My hope is that these will stay cleaner for me in my kitchen. They are machine washable and dryer safe but the pattern writer recommends just spot washing them in the kitchen sink. The silicon should be very easy to spot clean.


Monday, December 20, 2021

Another Finish

 This is third quilt I quilted with my new Q20 sit-down machine. It is a digital sample (that is, the quilt is printed on the fabric, not pieced) that I got in my shop back in 2016 for some fabric I had in the shop at that time.

digital sample 1

I quilted it in what would be the ditch if it was pieced using a straight ruler. Then I added a bunch of free motion quilting to fill in.

detail of quilting

Normally I wouldn't add this much quilting to a charity quilt but I was really having fun playing with my new machine. Here is a photo of the back.

back of digital quilt

This one finishes at about 40" by 40" and will be another charity quilt that I will donate to my guild. I have a couple more digital samples that I will quilt up and donate to charity as time permits.


Thursday, December 16, 2021

2021 2nd Saturday Sampler Version 3 :: A Finish

 This is the second quilt I quilted with my new Q20 sit-down machine. I used a ruler to quilt wavy lines across it.

2021 BOM version 3

quilting close-up

Yes, I probably could have done this design without a ruler, but I wanted to experiment with using a ruler on my new machine. Worked great! And the best part is that I can use my regular Bernina ruler foot (#72 foot) on my Q20.

For the back I found this fun print in my stash that complemented my color scheme on the front.

back of quilt

This quilt will be donated to my local hospital for the oncology department. It finished at about 40" by 50".

This is the third version of this quilt I have made. It was made as part of the 2nd Saturday Sampler Club I have at my shop. It's a block of the month program I run through the shop. Soon I will have the first version of the 2022 2nd Saturday Sampler Club project done and ready for quilting. This year I will be opening sign-ups to anyone. The patterns will be emailed to you so you don't have to be local to participate. The cost will be just $25 and there is no kit or fabric purchase required. I will be recommending that you purchase a single fabric for the background and a 1/2 yard of a dark fabric for another part of the quilt, but these are just recommendations not requirements. All the details, along with a sign-up link, will be in the post in which I reveal the top. Hopefully that will be happening before the end of this year. The 2022 program will not begin until March 12, 2022 so there will be plenty of time to sign up.


Tuesday, December 14, 2021

Charity Quilt Finish

 I have no idea when I pieced this top but it was well before I opened my shop in 2016.

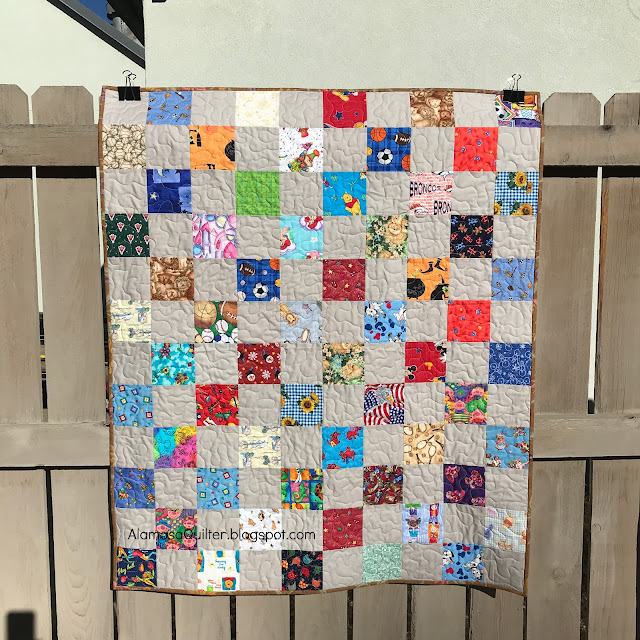
squares charity quilt

This is the first quilt I quilted with my new Q20 sit-down machine. I fell head over heels in love with that machine on this project! 

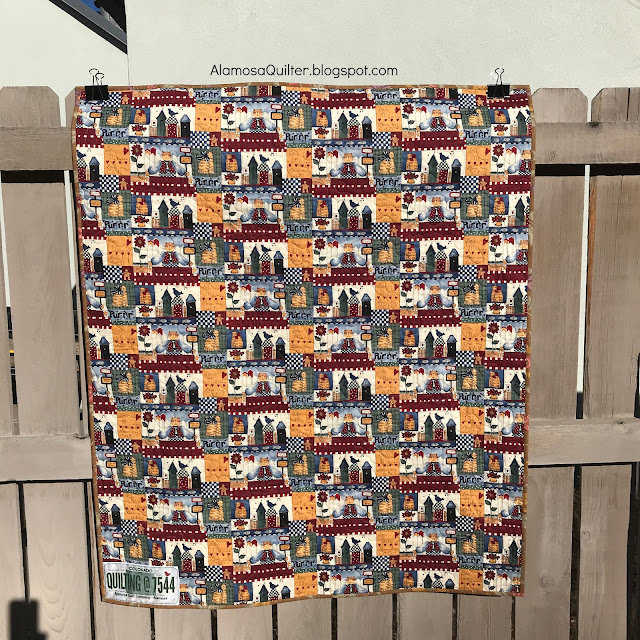
squares charity quilt back

For the backing I found this very old print in my stash. I must have really loved it when I bought it because I have 5 or so yards of it! 

This quilt will be given to my local guild to donate to a local charity. It finished at about 40" by 50".


Thursday, December 9, 2021

Q20 Play

 I have been bonding with my new Q20 machine.

Q20 machine

I have quilted two charity quilts already with her but don't have pictures of those yet for you. Next time! The first one I just did a quick all-over meander to get used to the machine. The second one I quilted with a ruler that I have had for a while. I'll give details on that when I show you the finished quilt.

Right now I am working on a third charity quilt with her. I'm getting fancy with this one. It is an old digital sample that I got for the shop the first year I opened in 2016.

3rd project 1

I am doing this one with a combination of free-motion quilting and ruler quilting. I'm mainly using the ruler to do straight lines since this one is a cheater quilt (that is, the design is printed on the fabric instead of being pieced).

3rd quilt 2

There are flying geese printed along the border but they only go part way along each side. So I did some flying geese that are just stitched.

3rd quilt 3

I have already stitched around each ring in what would be the ditch if it were pieced. Now I am going back and filling in the on-point squares. I haven't decided how I will quilt the rest just yet but something will come to me.

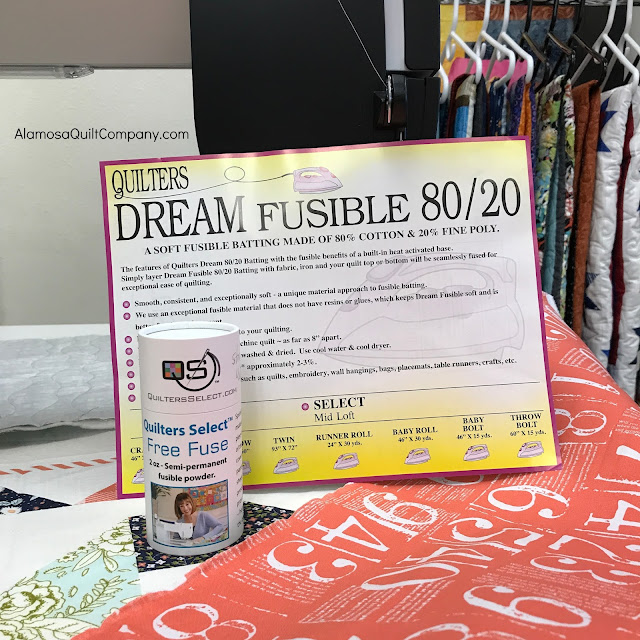
Free fuse and fusible batting

I have been using a couple newish products for these quilts. One is Fusible 80/20 batting from Quilter's Dream. I sure do love this batting! And when they offered me a free sample to try it out a couple years ago I originally said no because I don't like fusible batting! I'm so glad the lady taking my order talked me into taking it! It is fusible on one side and I always fuse the backing fabric to the batting. Then I use the Free Fuse powder to baste the top to the batting.

Basting is not the most fun part of quilting but it is necessary and it really needs to be done well in order for the quilting to turn out nice. However, it is much easier with these two products!


Friday, December 3, 2021

Canna Blossom

 I have had this little pin cushion cut out for months! I finally decided to pull it out and get her done.

Canna Blossom Pin Cushion start

I have everything appliqued down now and have started on the embroidery. Hopefully I will be able to use it as a pin cushion soon!